Struggling with skin tones.... any advice?

planetFigure

Help Support planetFigure:

This site may earn a commission from merchant affiliate links, including eBay, Amazon, and others.

FortunesOfWarModels

Active Member
Joined
Apr 8, 2012
Messages
40
Location
Norfolk
Hi all,

I've recently started painting 120mm figures, having never really done anything in this scale before, im struggling with the skin tones, and low and highlights on the skin.

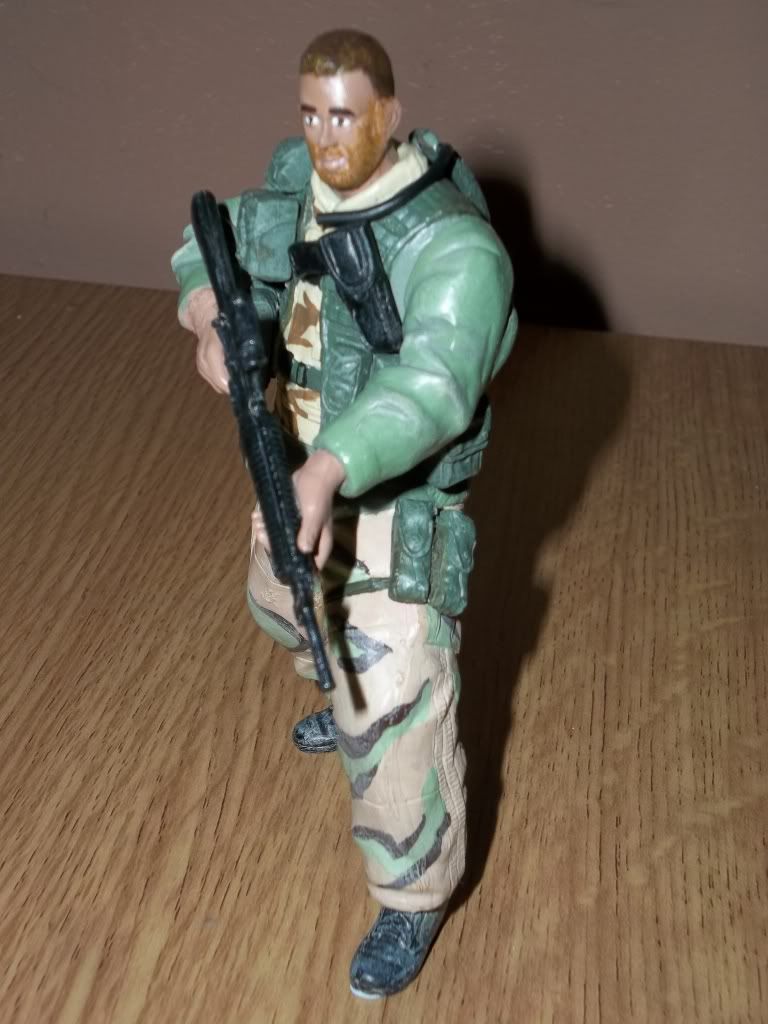
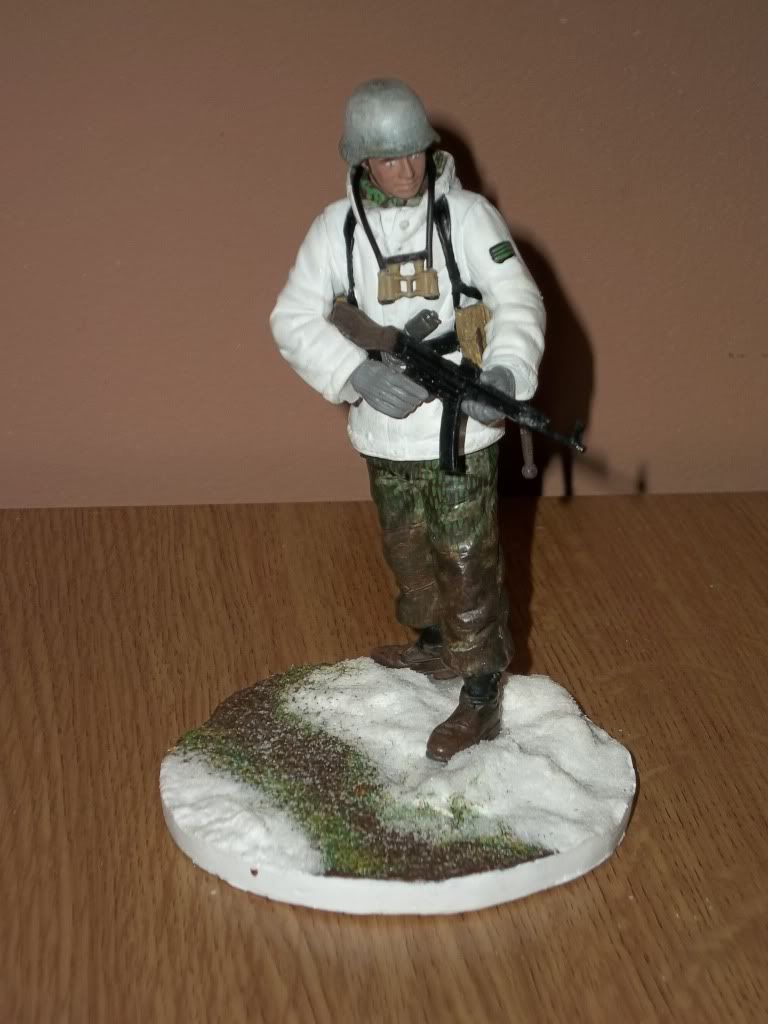
I've included 3 photos, the first, is a tamiya figure, converted to a SAS trooper attached to TF88, combined special forces in Afhgan, present day, the second is a volksgrenadier, from the Ardennes offensive, WWII and the third is a gulf war era SAS trooper.

The first and second were painted flat, one colour (cidadel tallarn flesh) and the third, the gulf war sas trooper, was painted with tallarn flesh with a mixed slightly darker pink for the lips, cheeks etc.

What steps can i take whilst painting, to make the skin tones more realistic, rather than flat and monotone as they currently are?

The photo's are not very good, as the flash covers a lot of the detail and makes them look very 1-dimensional, or maybe thats just my painting, but im sure you see what i mean from the 1st photo.

100_0117.jpg

100_0121.jpg

sas3.png
 
Tam,

When you study the human face you will notice that it is never one flat colour, but a subtle combination of many different colours, shades and tones. As a painter of miniature figures, your challenge is to try to recreate these colours, shades and tones in the appropriate scale of the figure. Their are plenty of "How To.." threads posted here on pF, and many books that illustrate the process, however the most valuable thing you can do is to study your subject with a painter's eye.

I find that I do it almost without thinking now, but when I first started painting figures, I spent a lot of time observing other people's faces to see how the skin tones varied between men and women, to observe the shadows and highlights and to take note of the colours and shades around the eyes, nose and mouth.

There are plenty of guidelines, but very few rules when it comes to painting faces, however there are two rules you need to be aware of.

Firstly, as the scale of the figure increases, the level of contrast between highlights and shadows should decrease, and vice versa. What looks like natural contrast in 1/16th scale (120mm) will look wrong in 1/32nd scale (54mm). Keep this in mind when you paint figures in different scales.

Secondly, while it takes a real expert to spot an incorrectly painted German Pea-Dot Camoflague pattern, everyone is an expert on human faces. People who have never made a figure model in their life will instantly spot a flaw in the painting of the face of a figure model. The point here is that everyone is an expert in human faces, so you don't need to look far to get expert feedback on what looks natural and what doesn't.

One of the first things you should try to improve the look of your faces is to develop a good technique for painting eyes. I notice from your pics that you have the typical "zombie eye" look that most beginner figure modellers have. Observe the real human eye and you will see a very different look and shape. I suggest you spend some time digging out some of the old threads in the archives here on pF on painting eyes to help give you a starting point.

Good luck.
 
Hi

I paint in oils and find this easier for blending the tones together when it comes to painting faces. Some excellent advice from Tony, but would like to add the following for you to practice:-

Start with painting the whole face with an acrylic skin tone.

Get a piece of cartridge paper and add small blobs of white, green, red @ yellow oil paint. Start with the white and add a hint of red followed by a hint of green adding tiny amounts of yellow takes away the brightness. This will instantly give you a light skin tone but obviously too light to be realistic.

Add more red and green to darken the base colour so you get the first coat to replicate the region ( cold, warm or hot)

Once happy take the base colour and mix with a bit of Matt varnish ( helps take some of the sheen away) oils take quite some time to dry so now you have time to work.

Think about he structure of the face and the high and low points. Shadow underneath the eyebrows into the socket, slightly down the side of the nose, underneath the cheekbones, nostrils and bottom lip using your base colour darkened with red and green ( take care with the amount of paint on the brush, it only needs a thin coat)

I also like to add some colours in its raw form, ie take a tiny amount of red underneath the cheek bones and gently work in to give Rosen cheeks etc.

Like anything this takes practice and a good way is to draw a face and try and recreate shadow and highlights on a flat piece of paper using the technique above as this will help you to blend high,mid and base tones, with the added bonus of understanding light/shadow.

I am no expert but can get acceptable results using this method, as for the eyes well as Tony states have. Search around the threads there are a few helpful hints to get good results.

Good luck

Dave
 

Latest posts

Back
Top