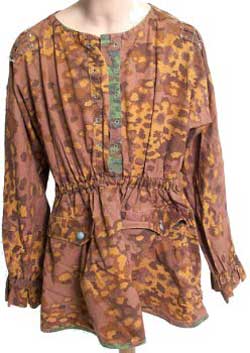
WIP Critique 1/35 Waffen SS Infantrymen

planetFigure

Help Support planetFigure:

This site may earn a commission from merchant affiliate links, including eBay, Amazon, and others.

Adam Baker

Active Member
Joined
Mar 4, 2012
Messages
45
Location
Mooresville, North Carolina
This is the first set of figures that I intend to complete. I've had a few false starts in the past, but Im determined to finish this pair.

Verlinden 1/35 SS Infantrymen set.
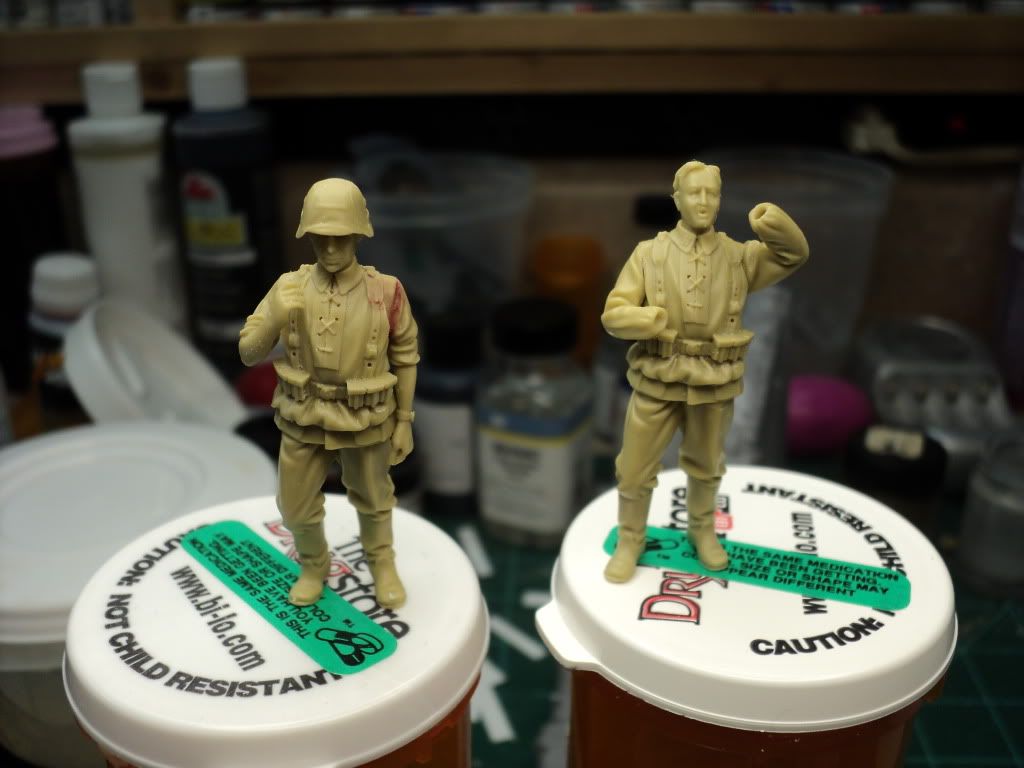
DSC01270.jpg


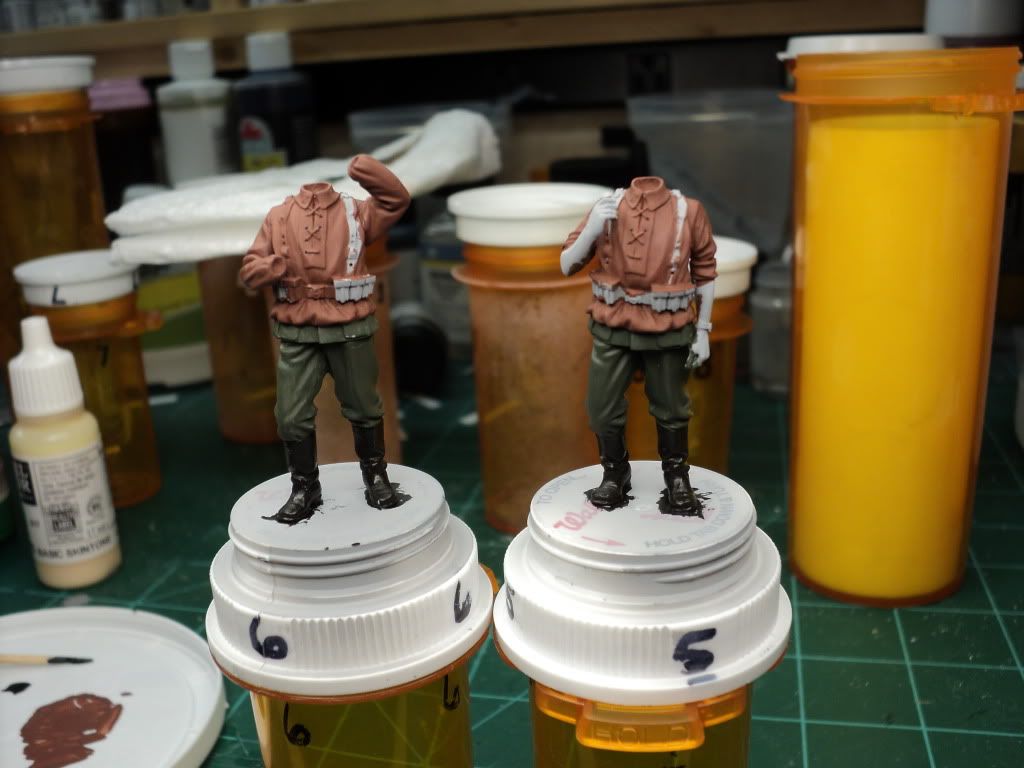
For the paint colors, I'm following Osprey's "Modeling Waffen-SS Figures" Im thinking that Im going to paint one figure w/ the Oakleaf pattern and the other w/ the Plain Tree camo pattern. Both will have grey/green trousers.

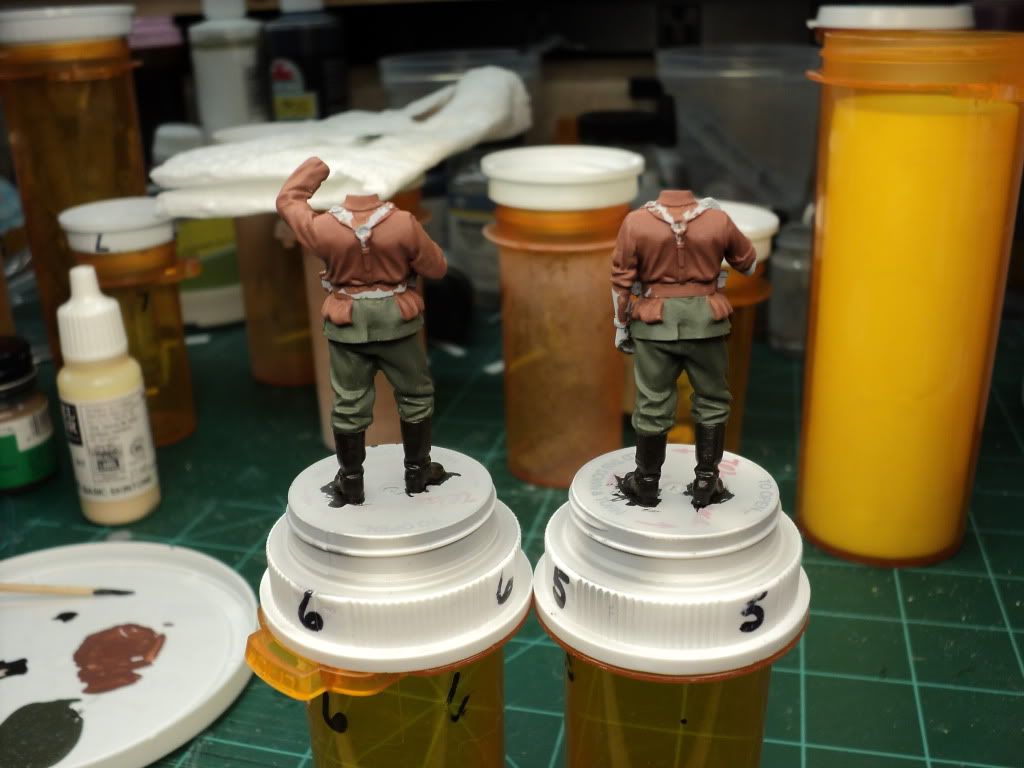
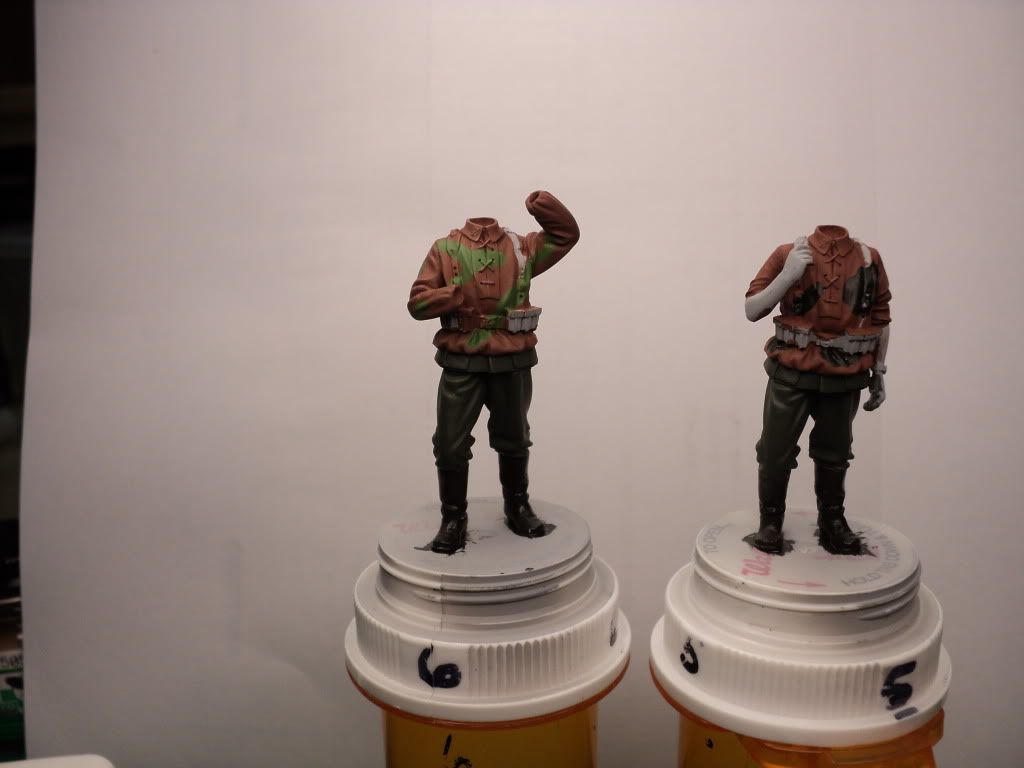
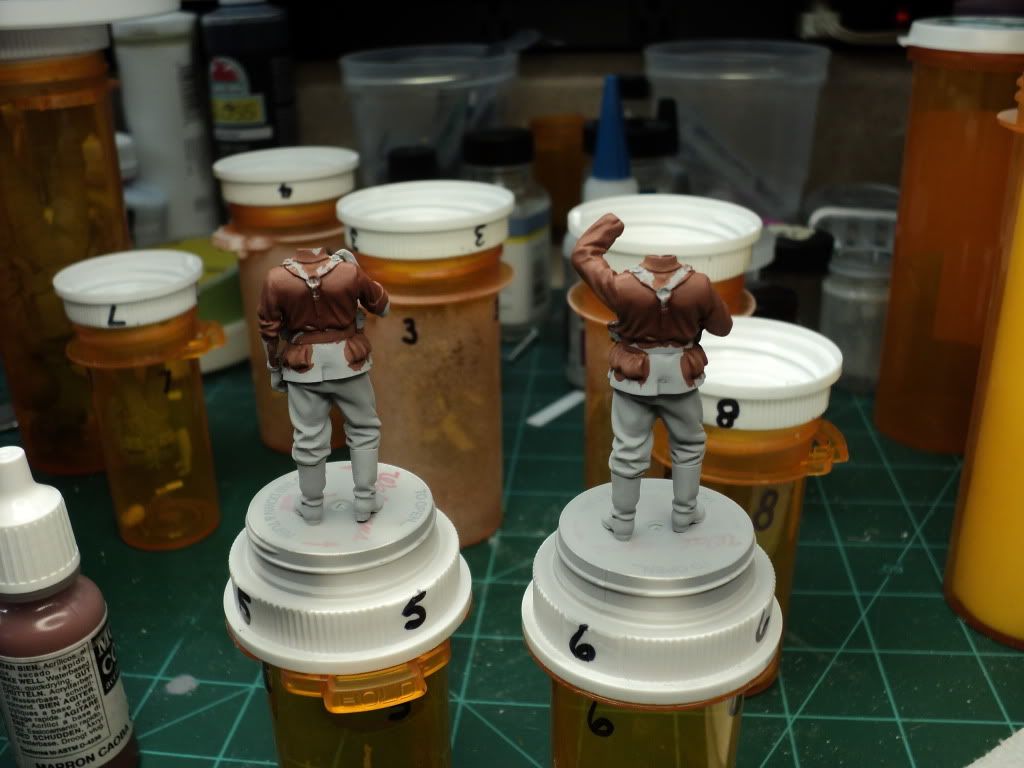
And w/ the first coat of paitn down. Its a 2:1 mix of Vallejo Mahogany Brown & Poly S US Brown Special.
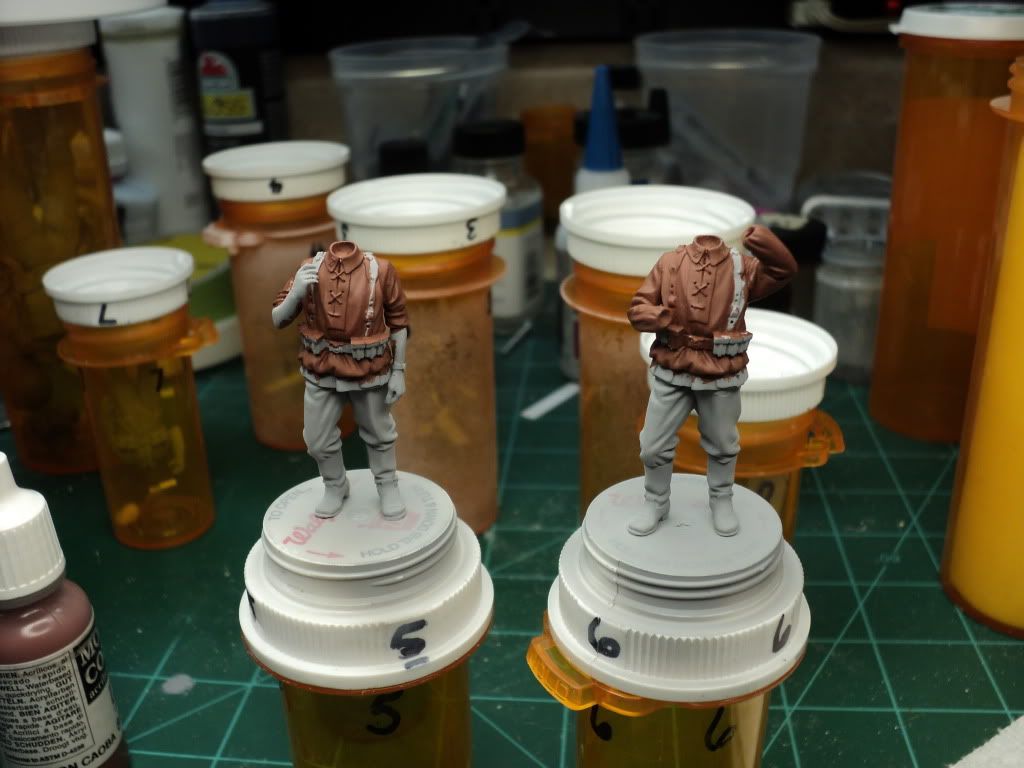
DSC01280.jpg


DSC01281.jpg


I'll let the base coat dry over night, and then tomorrow evening, I'll get the 2nd camo color down, and probably start on painting the coat and the trousers.
 
It is a nice set that you are painting. I will follow this topic !

Laurent
 
Yea, it was just what I had time to do, prior to going to bed.

I have a dehydrator that I use for drying paint, so if I'd had time to do more, I could have put the figures in there to speed up the dry time, but I didnt think it was necessary since it would be this evening before I could work on them anyway.
 
A little bit more progress tonight. Painted the trousers & the boots, but after looking at the pictures, looks like I need to put down at least 1 more coat of paint on the trousers, so probably do that tomorrow evening, and might get the courage up to put down the first color on the camo. Was going to do that tonight, but chickened out.

DSC01290.jpg


DSC01291.jpg
 
Looking good so far.
I see you are using Vallejo acrylics, I find they are next coat ready in about 1/2 hour... 15-20 min when you are highlighting up or shading down. At least that's my experience with that paint. What ever makes you comfortable.
I like the trick with the pill bottles... flipping the fig inside. Keeps them dust free when your not working on them... very clever:sneaky:

Good start... keep posting progress

Colin
 
Yea, I'm finding that your time estimates are pretty close, for recoating. I was having good lucky last night that by the time I would finish painting the trousers on one, that I could continue back around w/ a second coat and have few issues, but I definitely need at least 1 more coat on both of them.

I kinda stumbled onto the pill bottle idea last year, when I assembled the first figures I had hoped to complete. My wife & grandmother both take quite a few medications, so I've got a whole box full of empty bottles that I use for various things. What I normally do is any bits & pieces for the figure that arent attached, also go into the bottle, and that way it keeps all the parts sorted w/. I've only come across a single figure so far, that wont fit in a bottle. I have 2 120mm fig's I'm working on, and one of them has his arms spread too far to fit in the bottle, so I just keep that one sitting on a shelf where it cant be bumped by anything. The biggest issue w/ that one is b/c it cant go inside the bottle, it makes hte center of gravity pretty high, so if it gets bumped, it doesnt take much to fall over. So the solution was to put some large plastic cylinders that I have, inside the bottle, and now it doesnt tip over nearly as easily.
 
I have a dehydrator that I use for drying paint, so if I'd had time to do more...
Worth having a hairdryer on hand for speed-curing coats. With any water-borne acrylic or vinyl paints you should be able to apply the next coat pretty much immediately.

Einion
 
Made a little bit of progress on my figures last night, was able to re-coat the trousers, and now I think they look real good. Color looks very even w/ no appearances of streaking or missed spots. I also figured out that I messed up the mix ratio for the brown on the smocks, but its not a big deal, and I'll live w/ it.

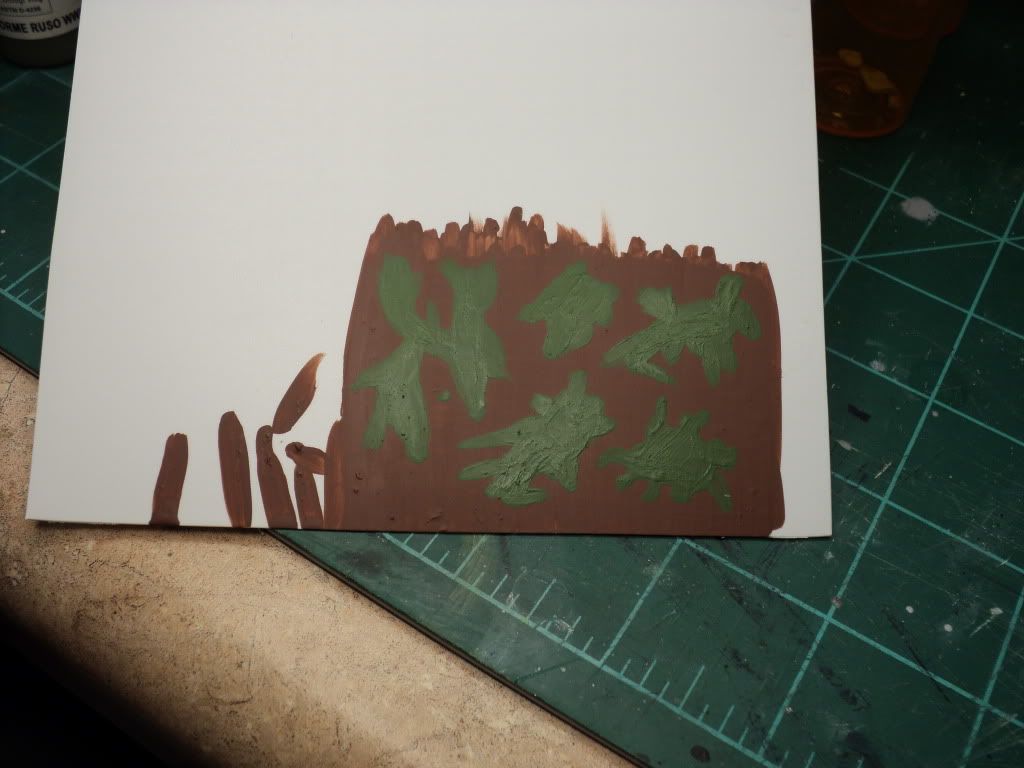
I also started working on a test panel, to see if i could pull off the camo on the smocks w/ a reasonable degree of success.

DSC01293.jpg


The paint doesnt look real great, but I was just brushing it on to see if i could get the pattern correct. When its time to do the figures, I'll take the time to make sure the paint doesn't go on real thick like it did on this panel. Tonight I'll work on adding the other 3 colors, and we'll see how it comes out. I don't really like painting camo, b/c I never feel that it comes out right.
 
Small update on where I'm at.

Last night I went through and dry brushed the pants & trousers on both figures. It still looks pretty subtle to me, but I didnt want to over do it, so I left both where they were.

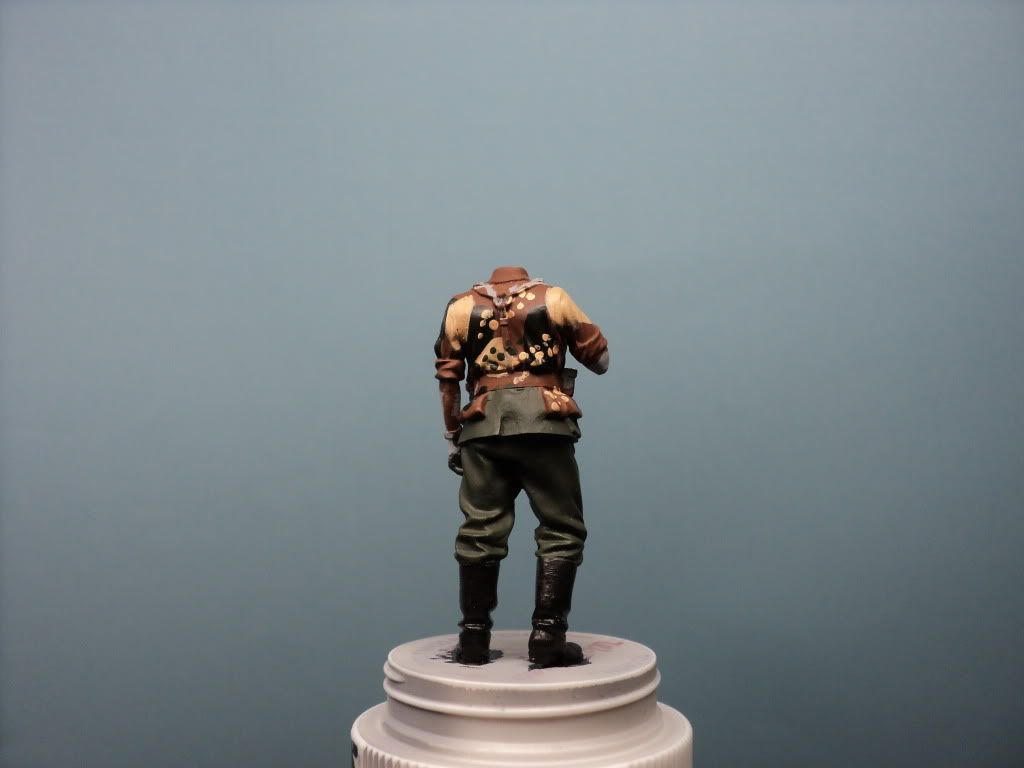
Tonight I jumped in and started working on the camo. I decided on one, to go w/ the Oakleaf pattern, and the Pea Dot on the other.

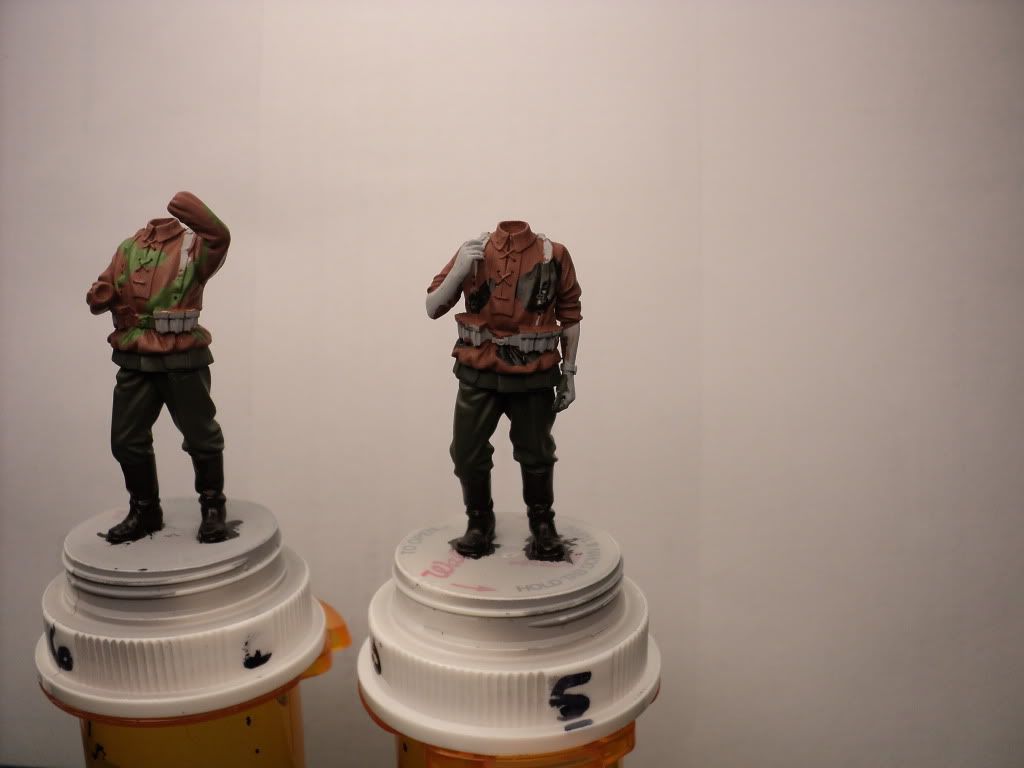
Here are pic's of the base colors down for the camo. Unfortunately I dont have any decent place to take pictures, so the pic's suck.

DSC01316.jpg


DSC01317.jpg


Going to try to get at least 1 more color down tonight before going to bed. Should be able to get a little bit more done tonight than normal, going to a trade show for work tomorrow, so I can sleep 3 hours later than normal.
 
Last night I went through and dry brushed the pants & trousers on both figures.
If you're aiming for higher-end results I'd encourage you to get into layering. Even at smaller scales drybrushing will only lighten the edges or tips of sculpted detail, rather than the upper surfaces which is where the highlights should be. Similar deal with washes for shadows, in reverse.

Q.v. the stop-sign rule, recent post here.

Einion
 
Thanks Einion. I believe the Stop Sign method is mentioned in one of the figure books I've got, remember seeing it.

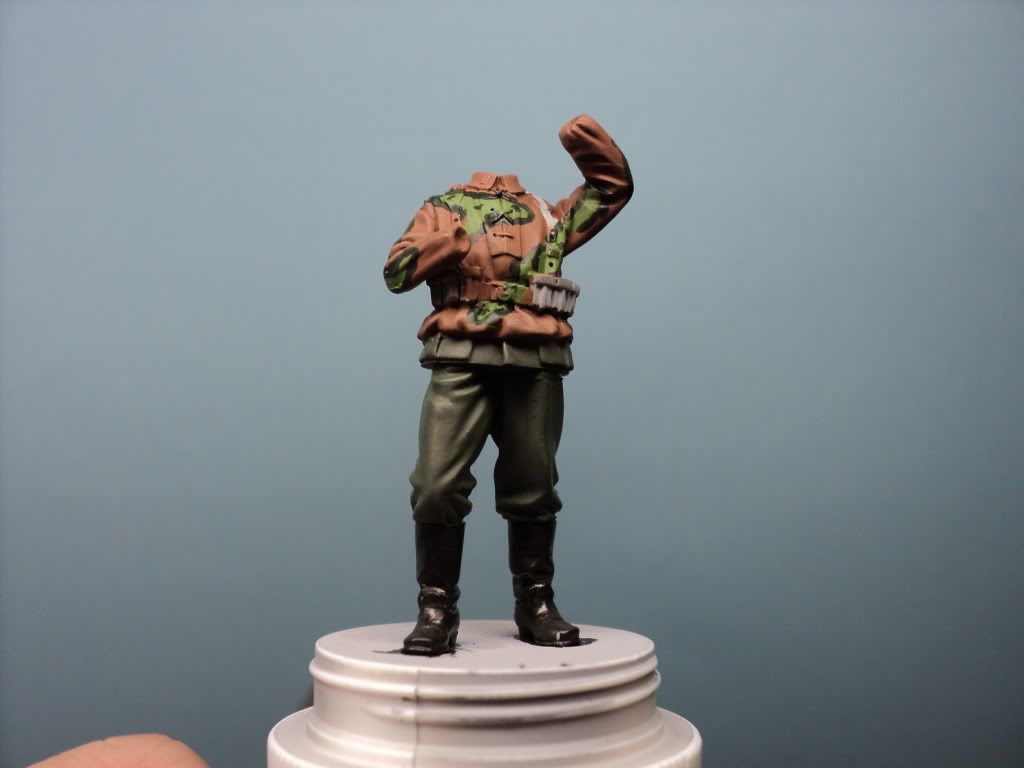
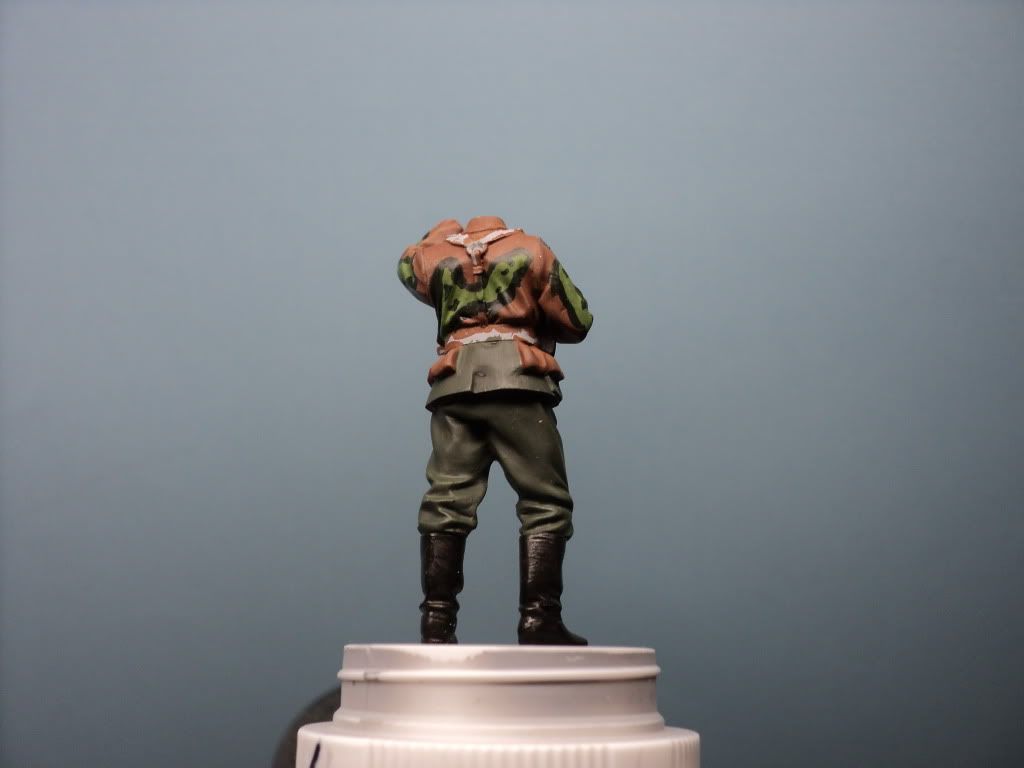
I got the next color on last night and I really dont know if i like it or not. The Oakleaf looks ok I guess, but I really dont like the Pea Dot. At this point I'm not sure what I'm going to do. I'll probably post pic's up this evening to get feedback and suggestions.
 
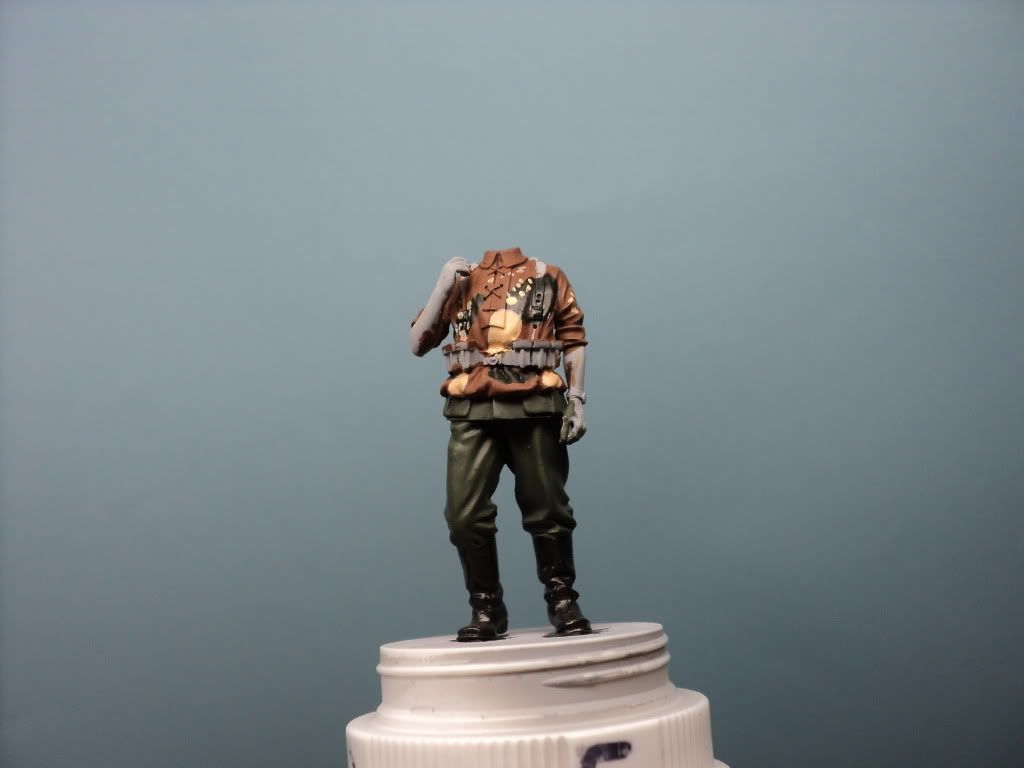
Havent worked on these in a couple of days, the jury is really out right now on how the painting looks. The figure w/ the Oakleaf pattern looks ok I guess, but the plain tree pattern I dont like at all, and I'm trying to decide whether to press on, or strip or paint over what I have.

Oakleaf. I'm going to push on w/ this one, in the hopes that it comes out decent.

DSC01333.jpg


DSC01335.jpg


Plain tree. I just dont know about this one. I think that I have all the spots, both large & small, too large, and it just looks like crap to me, but I'm probably just going to push through w/ this one too in the hopes that when its done, it looks halfway decent.

DSC01336.jpg


DSC01339.jpg
 
I think that for the Oakleaf you are on the right way (y)

But to be honest I do not see what camo is the "Plain tree". If you want to paint a pea pattern (like the pic below) I'm not sure that the uniform of your soldier allows it. I think it will be more accurate to reconsider to paint your soldier with it. Perhaps you can paint one soldier with the spring version of the oakleaf and one with the autumn ? Or with the same camo ?

M42TunicDot.jpg


Laurent
 
I'm sorry, I mean Pea Dot, not Plain Tree.

I do like your suggestion of having one in the Spring Oak Leaf and the other in the Autumn, which for the time frame I'm thinking these figures would be in, would be perfectly feasible. I'm thinking Battle of Berlin time frame, which would place it late winter into Spring of 1945.

I had it suggested I should try thinning down the outline on the Oak leaf, so I might work on that this weekend. I'll have to look and see if I have the colors to do the Autumn, but I'm not sure. Most of my Model Color paints are on the green & brown side, I dont have many/any shades of red or orange in MC. I do ahve some in Tamiya, which make work, I'll have to look at the schemes.
 
I also see that you have painted the collar with the basecoat of the camo. Do not forget that the camo was just a kind of blouse to wear over the uniform. So the collar has to be feldgrau. And it was reversible so in the other camo can be saw in some parts (like in the picture below)

ss-camosmock-2.jpg


For the time frame, I'm not an expert but I think your figures looks more like "early war" one. In fact, the boots were replaced with gaiters at the end of the war and the collars were not exactly the same I think. So it is perhaps better to situate the action earlier. But this is a detail.

Laurent
 
Well, the figures are being placed w/ a tank model that was only used late in the war.

At this point I'm not worried about 100% accuracy. This is more about trying to learn how to paint the figures, so if the figures aren't 100% correct, then I'm not going to worry about it. And I suppose if it becomes an issue, I can figure something out in the future, go w/ different figures or something, so there are several options available.

Thanks for pointing out about the collars of the uniforms, I didn't even think about them showing above the smock.
 
Back
Top