WIP Baba Yaga

planetFigure

Help Support planetFigure:

This site may earn a commission from merchant affiliate links, including eBay, Amazon, and others.

Jenseits

Active Member
Joined
Apr 1, 2010
Messages
59
Back here after 18 months of silence.
Oh well here is a new small scene, which should get 4 figures on it by the time of completion, but let's start..

You guys know Baba Yaga? She is the top sorceress of the Slav world. She is often depicted as an old lady walking in a mortar with a broom to wipe out her traces. She lives in a house with chicken legs.

When i was a kid my Godfather came one day home with a set of books, old Russian legends illustrated by Ivan Bilibin, with tons of Baba Yaga in it. But something always striked me about her, she is not that bad, and could be actually quite a fair old lady. Looking at Wikipedia, I also saw she could take the appearance of a young lady.

And then 70 years ago, Barbarossa, the German invading the land. What could she do? Too much dead men for her to eat.

So here is Baba Yaga, my own version, she stands by a pool (and no she won't be eating anybody)

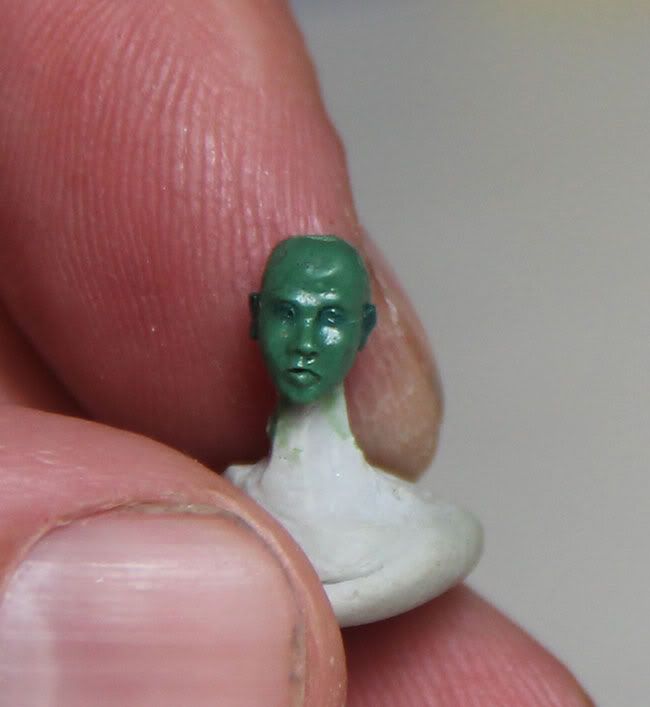
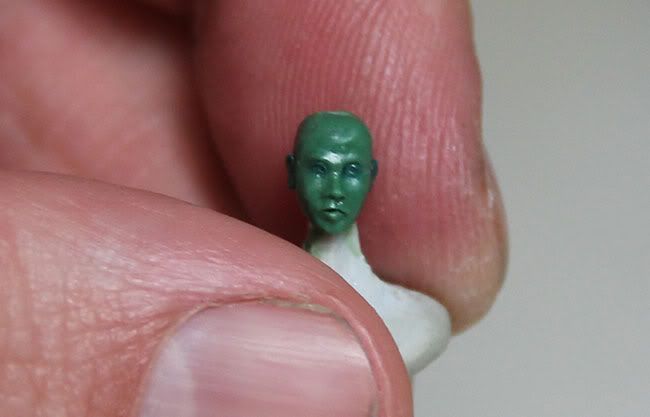
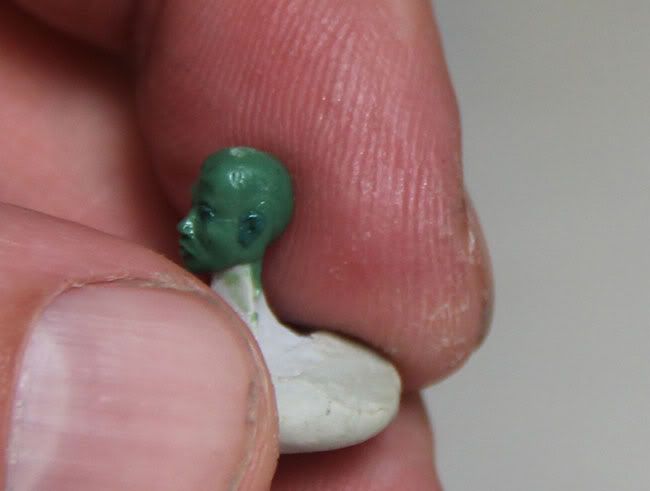
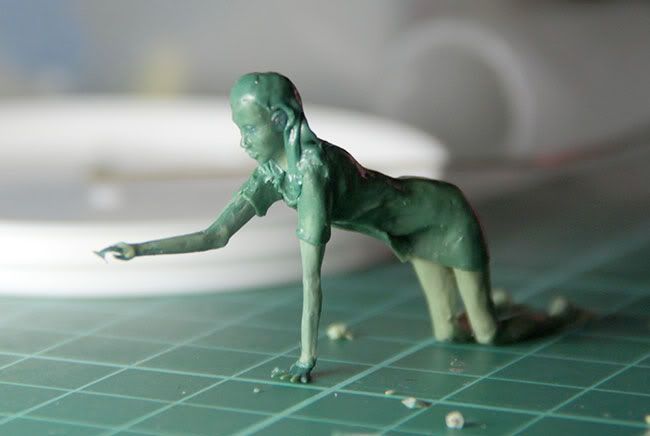
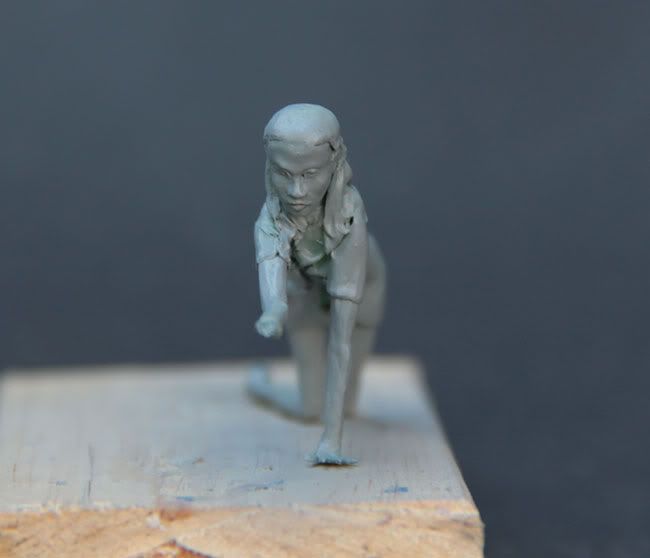
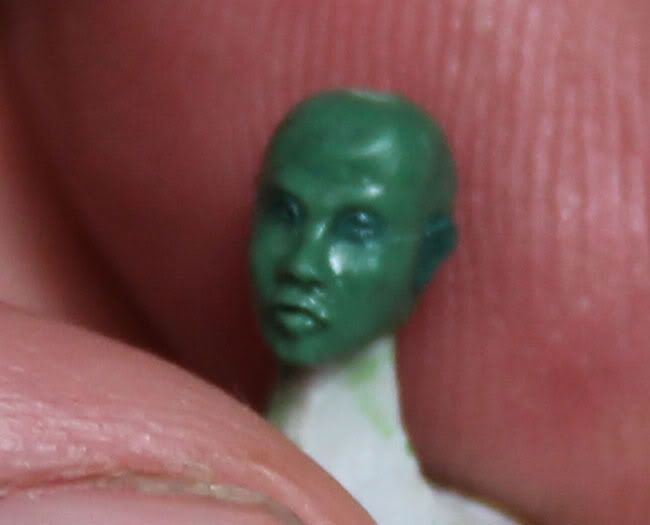
Here is the head. Handsome I said. And alive too :)
IMG_1183.jpg

IMG_1187.jpg

IMG_1184.jpg

IMG_1186.jpg
 
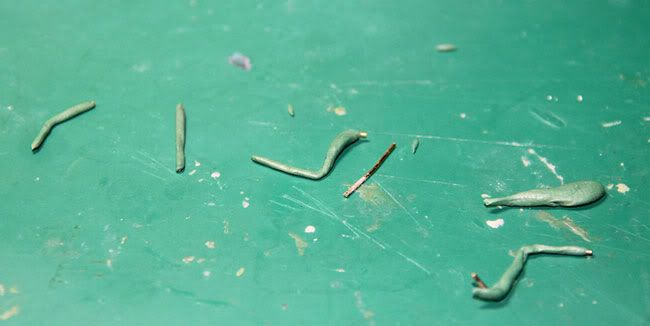
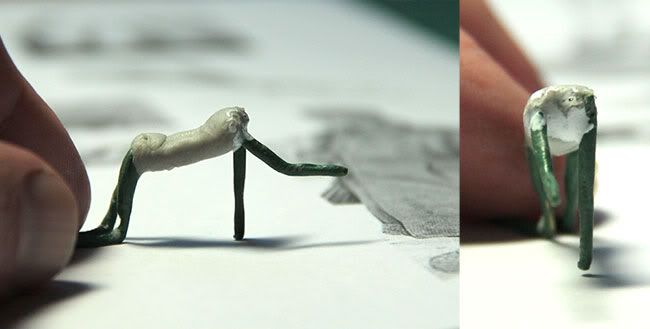
Let's start the butcher job. Some brass wires first covered with some Duro/Magic Sculp so that the subsequent layer will grip on something.
pbaba-yaga-diorama-1-35-4.jpg

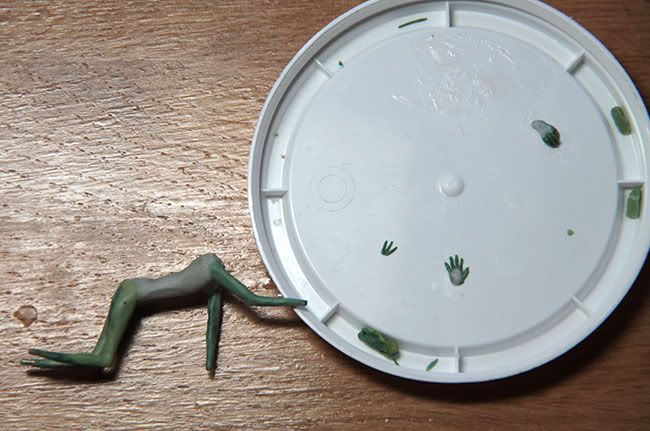
Then let's tie this together with a little lump of MS. Walk baby walk..
IMG_0988.jpg

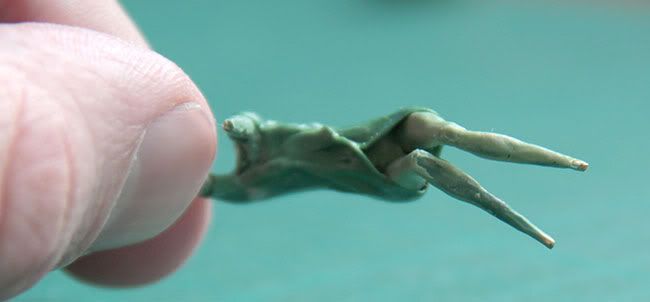
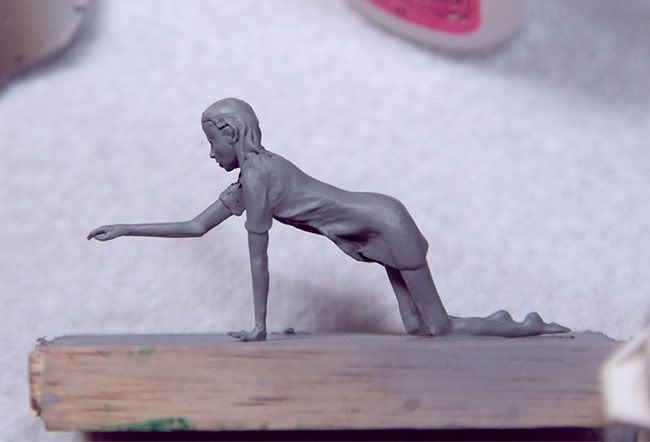
Then let's sculpt some legs on the top of this. I shouldn't forget about the feet and hands -btw, the one pictured on this pic proved to be way too big. I had to complete the small attempt with 3 fingers more to the center
IMG_1161.jpg
 
Thanks Colin, as a matter of fact I am abit late with my schedule here.
oh nevermind, let's just wrap the girl off today (? well unlikeley)

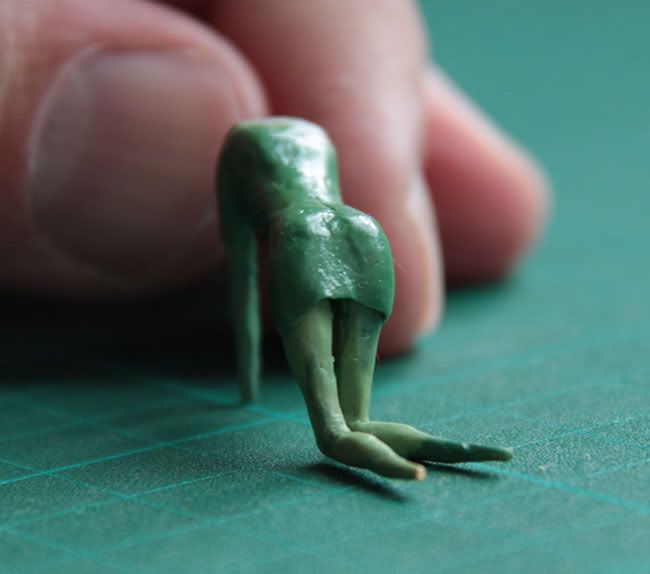
The dress is a simple thing, just one thing Duro sheet wrapped around the body.
This will be tied by a few buttons but nothing else really. The hard thing to do is -indeed- the wrapping which must be done on the whole body globally athe same time. I added a few "ripples" afterwards and corrected the odd ones.

IMG_1172.jpg

The wrappings as done with Duro are often fantastic because the material hangs neatly over the features.
IMG_1173.jpg

let's add the hands and feet, fix the head, as some hair.. obviously a few trouble there with the top of the head.
IMG_1202.jpg
 
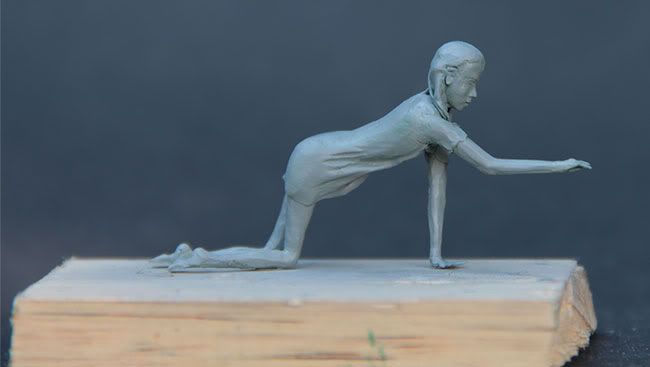
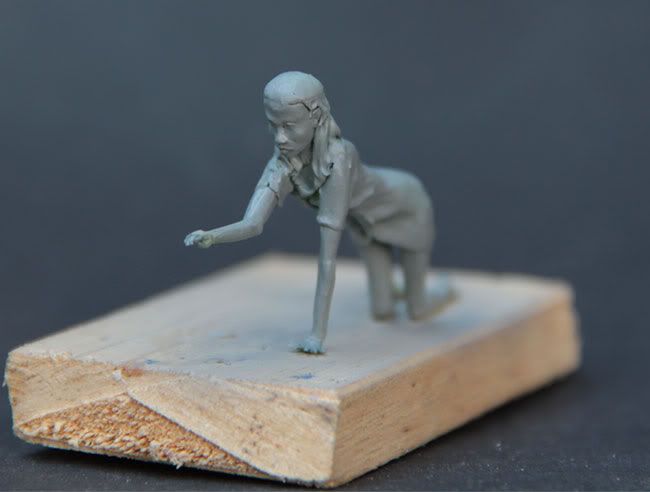
So well, that dress and the almost completed picture - it all sort of looks like it ends well isn't it?

She has a high forehead, but i really like her like that, she is the way I wanted her to be.
IMG_1270.jpg


IMG_1269.jpg

IMG_1267.jpg


But well. No it isn't ready yet. I recently discovered that one of the main reasons I was such an appaling figure painter was because I was only painting my own production, which is usually thrown together in the last 5 mn which implies unproper for painting figures.

Why then?

Last October I had the chance to meet one great British modeller at SMC in Eindhoven. He was making a demo on Alclads. Some 2 hours later I was visiting the sellers stand while he was helping around and saw him rub something. That was the bit of plane he was making the demo of.
I asked him for how many time he was rubbing the thing and he told that he had been doing that ever since the end of the first part of the demo, "because" he said, "if you want to get a proper Alclad finish you've got to rub over and over the black gloss base until it totally shines, look at the difference!".

So that's it, that rather active man was rubbing the bloody thing for more than one hour because he wanted the thing to be perfect.

Now I can't model like that, but truth is.. well, here I am, just putting Mr Surfacer over Mr Surfacer coat on the dress and rubbing it with Tamiya 1500 grade sandpaper until -well, Baba Yaga shines..

[see on the below picture, there is obviously one problem with the wrist, mr Surfacer and "elbow oil" is going to solve that]
P1430022.jpg

P1430025.jpg
 
And now for something completely different
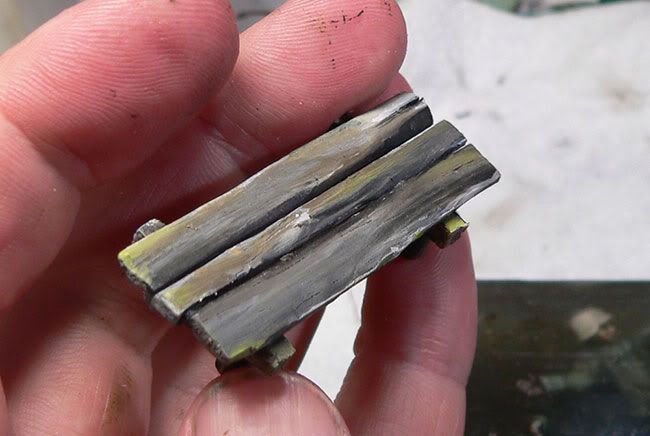
I need a small bridge for Baba to stand on. So here I am sculpting some light wood (not balsa, something in my box I couldn't identify)
The "feet" of the bridge are in fact made of an old brush
IMG_1298.jpg

I had a very good reference picture on some old bridge done for fishermen, showing some very ragged planks and even a badly cut trunk being used. That bridge is the carbon copy of that one.
IMG_1300.jpg

IMG_1302.jpg

of course, most of the bridge's feet will be deep in the water
 
[edit]
Well Here are a bunch of heads, all sculpted at the same time. No ears they don't need those. Some eyelids are actually missing on those In progress shots.

They don't need to be as nice as Baba's -yet I happen to be pretty happy about the one the more to the left.
IMG_1169.jpg

The one which is the more to the right is actually a first version of baba's head herself
IMG_1167.jpg

So here is the first of the soldiers as done, quite ghostly position. No legs he doesn't need those. I ddin't fixed the helmet. the buttons are made of Magic Sculp and the hands are from Dragon.
IMG_1273.jpg


IMG_1274.jpg

Now there is a commonplace in modelling build logs that I can truly not understand. It's the "Well, I built that (engine..) and took great care in that, but now everything will be closed and nobody will be able to see the work".

Heck if nobody can see the work, then your work doesn't exists, as simple as that.

Here is the back of the guy, nobody will ever see it :)
IMG_1275.jpg
 
more German soldiers.
Shame on me I bought that thing..
15 years i didn't buy some dragon figures and I was FAR from impressed, even that Gen2 stuff looks weak. Oh well, I wasn't about to sculpt those pockets, badges and stuff anyway
P1430043.jpg


The first soldier, well, there aren't much modifications: new "legs", the head i sculpted I fixed.. Well, usually people on military figs forums sculpt *the body* and give the head to Hornet. I don't think this way: what has the most personnality? the head or the body of a person? The *features*, the *personnality* of the figs I include in my dioramas must be 100% mine. So I leave the generic stuff to Dragon, the hands to Hornet, but the heads are *me*
IMG_1237.jpg


The other one is more interesting. I put him is great coat as floating around him, that's 100% Duro. it's quite good to do those drapes even if they end up being a bit thick.
It's time I go back again to visit this very forum to learn one trick or three more.
IMG_1251.jpg

Well, I like the position of that guy..
IMG_1262.jpg

IMG_1263.jpg

Well, the figs are soon finished, once more they don't need to be that great, that's Baba I focus on..
 
Well I still took one week worth of evenings (in a lazy fashion still) to paint not very well those German soldiers.

Acrylics, then oils then acrylics, but they don't need to be perfect really. Those are dead which explains the eyes and very white complexion. You may also notice that I have been doing some highlights with very vivid green hues on the top of the bodies, that's because that's that will be the most noticeable by the end of the diorama.

And for those who wonder, Yes I have seen Dead Snow, and No this diorama is definitely not influenced by Dead Snow. It's a very funny movie but I prefer my deads being less cliché.
ah well this one has got his highlights on the front body contrary to the others
IMG_1559.jpg

IMG_1550.jpg

baba-yaga-diorama-1-35-31.jpg

IMG_1552.jpg
 
These look really cool... I can't wait to see how the whole thing starts to come together... very interested!!
Have you put any paint on Baba yet?
Dying to see more...

Colin
 
Thanks Colin -no paint on Baba yet, i had the comment by somebody who found the ankles & wrists too thick and the hands undersized, and well I decided I would change the stretched hand and thin ankles and wrists, so that's more sculpting, sanding and all, but she should be ready (but sill in grey) this week-end.
Really, I have now a lot of "drive blind" job to do with water effects etc, and I will paint Baba so that she could match with her surroundings -which means last :)
 
This is where the fun part starts, driving blind and engineering.

Do you see this picture? here I show the bits of the bridge as they will be seen from under the water -the place where those will be cut will be the water level.
P1430055.jpg

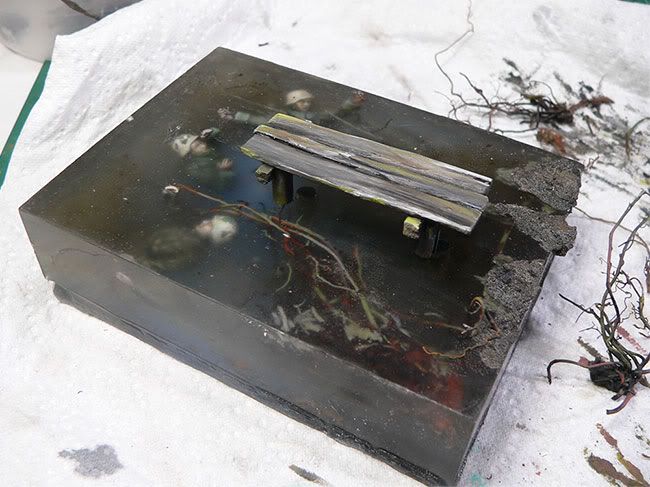
Next I have been building a plastic box that I have been "gluing" on a small glass sheet. then with modeling paste for kids I place the soldiers and the bottom of the bridge. face down. i also have been cutting the tips of their hands for further use
P1430057.jpg

So if you flip the diorama on the other side, that what you see:
P1430060.jpg
 
This has to be one of the most original diorama ideas I have ever seen. Truely a fine piece of craftsmanship and engineering.
I'm dying to see the finished product!

Keep it coming

Colin
 
Thank you Lew J. Hahaha Baby and Colin -unfortunately I have been quite busy with job and my work took one week late anyway..

Here is Baba "babe" Yaga after a lot of extra trimming, a new right hand and thinned down ankles and wrists, she is now ready for paint.
IMG_1616.jpg

But the scene progressed too, here is the bridge painted with acrylics -a 10 minutes work, improvising with white black, brown and green
P1430110.jpg

A bit of mud on one of the corners, and there will also be some dead branches above the underwater ones, some are seen painted on the right of the picture.
The surface of the resin is not that glossy, thanks to the product I used to help unmoulding the block. But a good coat of varnish by the end of the work and it should look fab'
P1430104.jpg
 
Back
Top