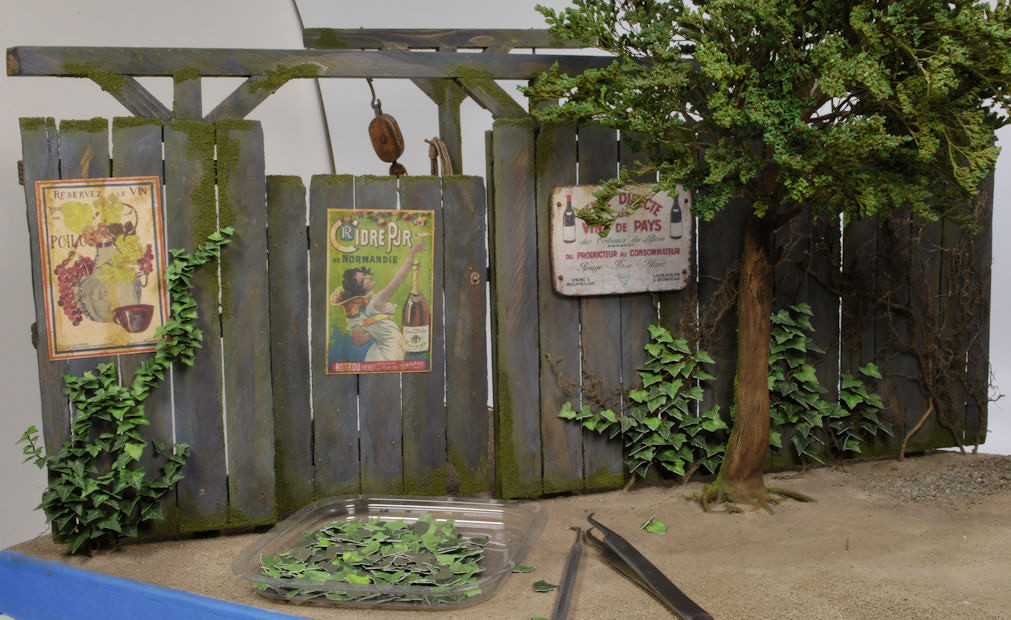
D’Vine Inspiration
The moment I’ve been waiting for, placing the ivy leaves. This has been a long time in coming, years in fact. I started cutting these leaves probably 6yrs ago in preparation for this moment. I know, right? What a moment to be waiting for, but here it is, finally. HA! This dio was started 12yrs ago, so it’s only been half the time.
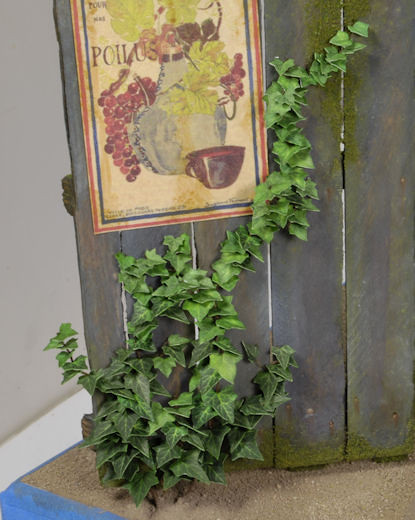
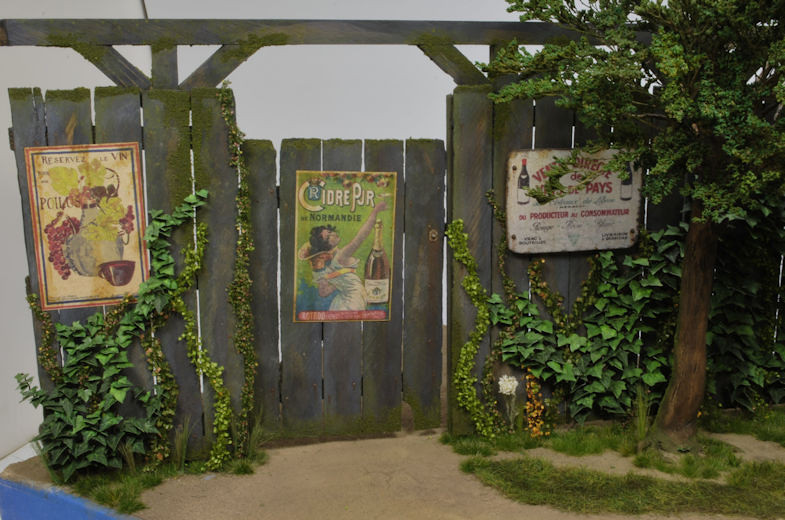
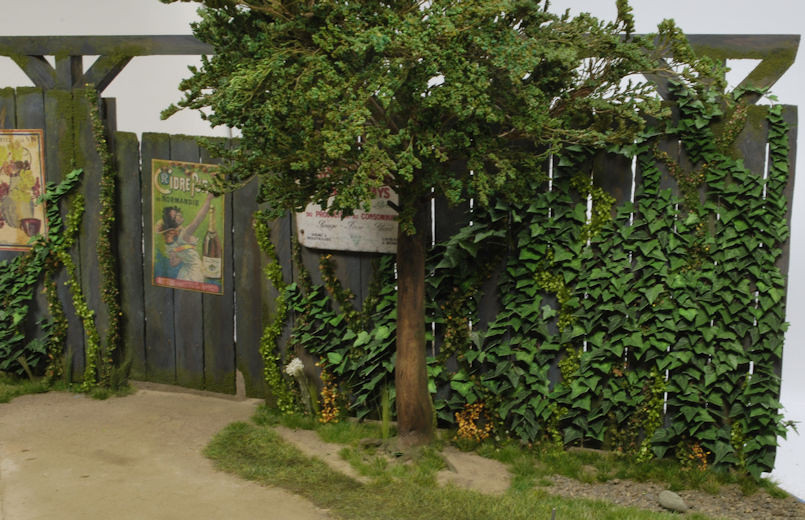
Using my curved fine point tweezers, I began to work the left fence section to get a feel for how this would flow. As expected, no issues, just a few vines breaking, but they were pretty small anyway. Once you get a feel for what colors go where, as in, dark green lower, light green higher, the process moves quickly. It moves quickly as long as you can reach into the tight spots, and then it’s a matter of getting the leaves to stay put. Behind the tree has been a bit of a pain, but not undoable.
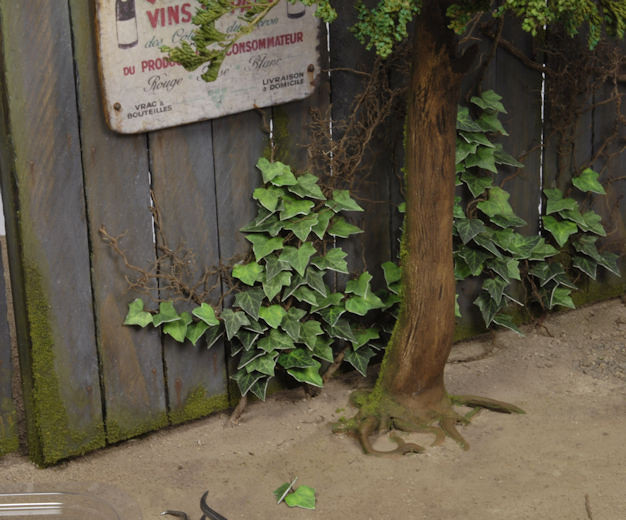
You may also notice that the leaf edges have already been touched up on the left cluster, but not behind the tree, not yet. This is not very difficult but does require a light touch to avoid flicking the leaves off the vines. When applying the green acrylics paint that is also the time to hide any shiny glue spots or discolorations on any of the leaves.
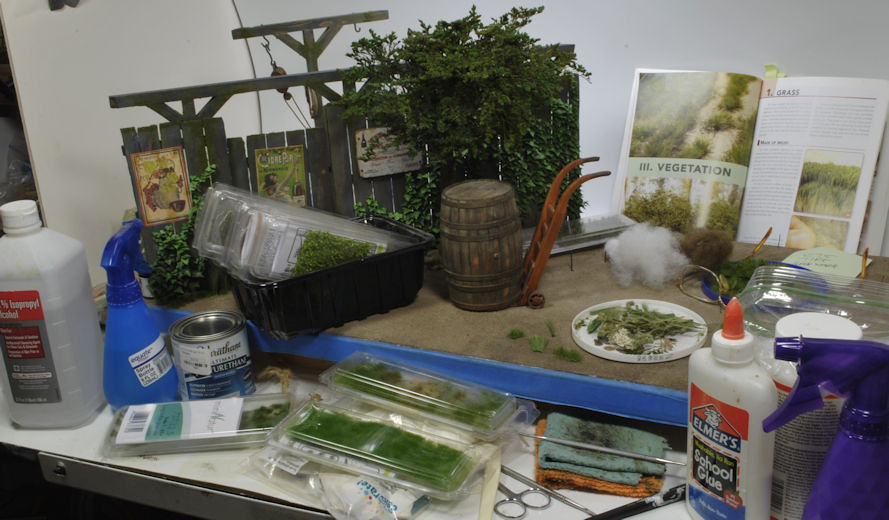
Hind sight is crystal clear, right? Right! I forgot to add moss to the backside of the tree and had to apply it after starting the vines because? Well, that’s when I remembered it, HA! My buddy Simon had mentioned it before, but I forgot to add it to the list. Not a real issue, just brush on watered down Elmer’s School glue where needed and then apply the flock. Scenic Express Flock and Turf in various shades of green works great for this. I crush the flock very fine so it won’t appear blotchy or out of proportion and unrealistic.
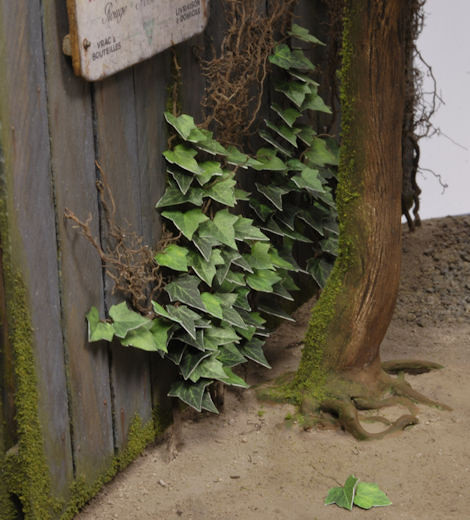
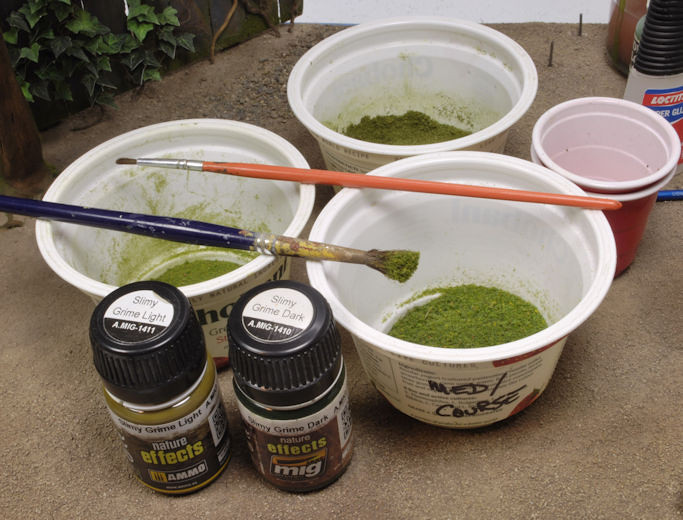
Before any flock can be applied there has to be a base tone added for depth and realism. I used Mig’s Slimy Grime Light and Dark paint. I thinned the dark and spread it carefully without going everywhere, then lightly blotched on the light green. That gave a really nice base on it’s own, but I still needed the flock.
So,……….do I tilt the base to the side and risk a major disaster, or figure out how to apply the flock in a safer manner? I already have a slight bend in the tree, so I tried using a small spoon to tip it in place. That was not going to work, but using a fat worn out brush did. I just held it above the area and tapped it lightly, flock falling into place nicely, just like I wanted it.
I’ll keep working the leaf placement over the next few days, as time allows, and then start on other foliage around the base.
More to follow soon and thanks for watchin. Cheers, Ski.


 Dang, Kevin, you'd get a rolling pin across the temple if my pretty little women ever saw that!


 Still quite a bit more gardening, but we're getting there, Amigo!