Okay, I've been away from this for a while, so here's an update of how I did the goalie helmet.
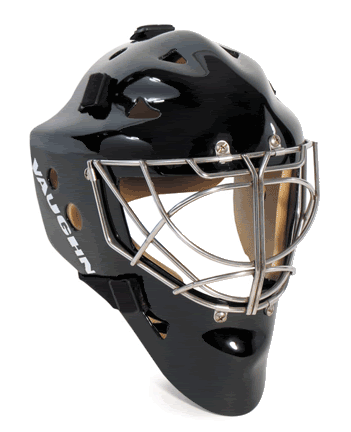
Here's basically what I wanted it to look like:
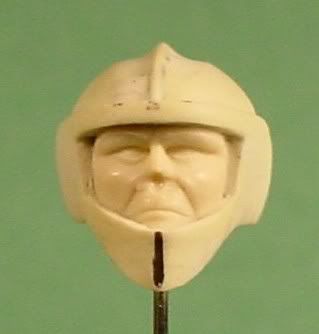
So I took a casting of a head that I'd sculpted that had turned out badly and used it to build the form around:
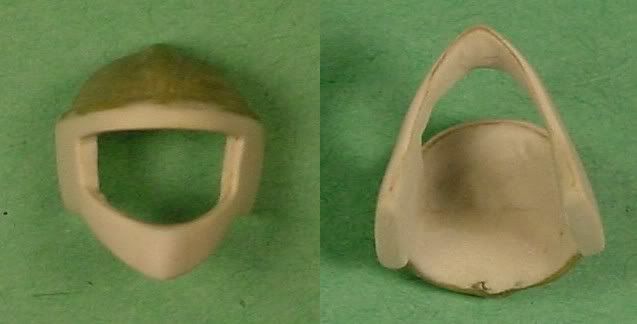
Since I wanted the helmet to have scale thickness and to be removable for ease of painting (probably not necessary to be honest), I smeared some vaseline on the form and then placed thinly rolled layers of putty over it to form helmet sections that could be easily separated later.
Note: do NOT place such an item in a crockpot to dry - any air trapped between the form and the putty will bubble horribly like this:
I had to make several attempts before it turned out all right:
I checked that it actually still fit on the head properly:
and then it was onto the difficult part of the cage/face guard.
I had several good suggestions of copper wire since it's maleable but will still keep its form; however since I couldn't find any of the proper thickness I decided to try something else. I decided to make the individual bars out of a mix of Duro/MS over a positive form of homemade toy sculptor's wax that a friend had given me:
BTW, sculptor's wax is *awesome* - you melt it down, apply it with metal tools that you heat over a flame, and then carve and sand to shape... you can even use steel wool on it!
Then I scribed some channels into the wax in the basic shape that I needed to follow:
and placed the putty rolls into them:
When they dried, I placed the whole thing in the crockpot and the wax melted away. It was a little difficult at times to get it off of the bars because they're so delicate, but between the heat and knife, I was able to scrape it off. And here are the two parts separated:
I still need to detail some more of the mask itself before I re-attach the cage.
Ta-da!
Francesca


