WIP Iwan Sirko

planetFigure

Help Support planetFigure:

This site may earn a commission from merchant affiliate links, including eBay, Amazon, and others.
23. Day, 19. November 2012

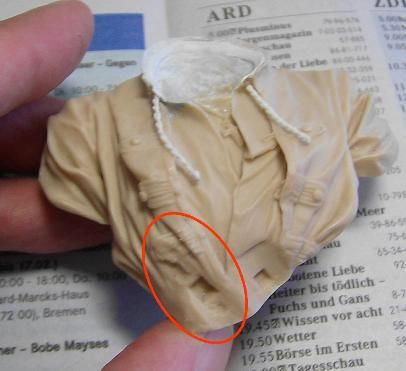
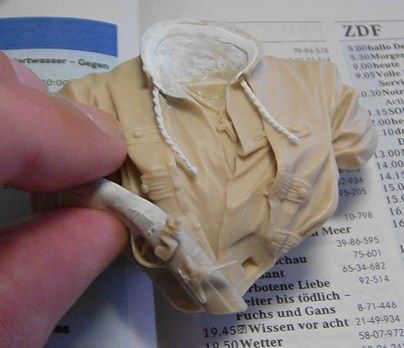
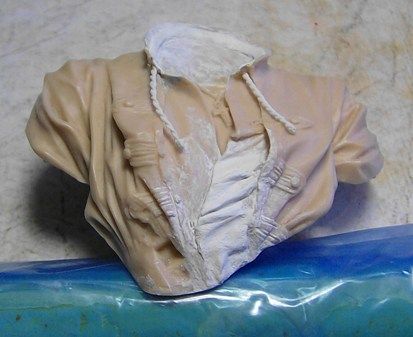
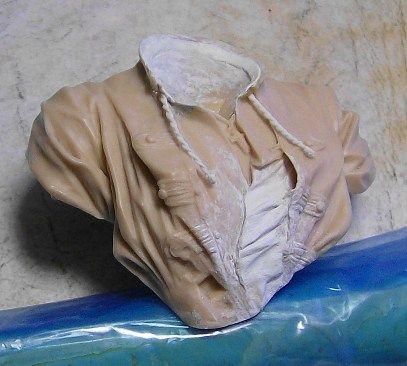
At the torso of the bust there are two fugues below where things are to be assembled, which bears our Ataman in his belt.

Into the right fugue ...

Foto23_1.jpg

…later comes the pistol ...:

Foto23_2.jpg


For the body of the gun the fugue could remain so, for I have just rebuilt the piston, this fugue can stay.

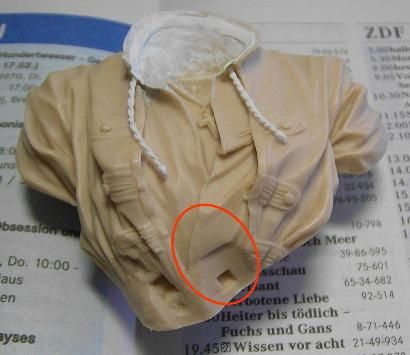
The situation is different with the second fugue ...:

Foto23_3.jpg


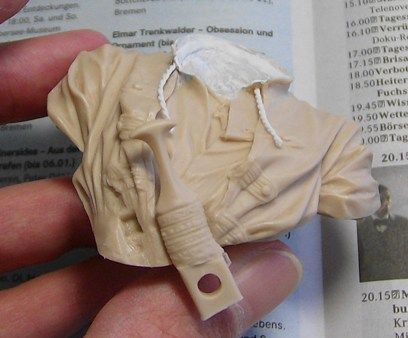
This is the place of the dagger ...

Foto23_4.jpg


…witch I leave off because of its shape is so completely wrong.

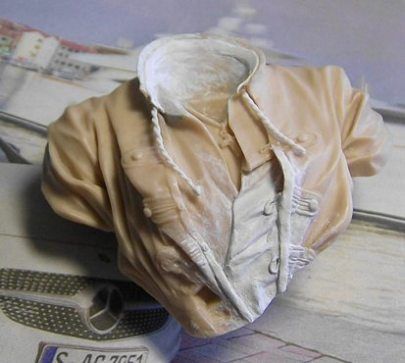
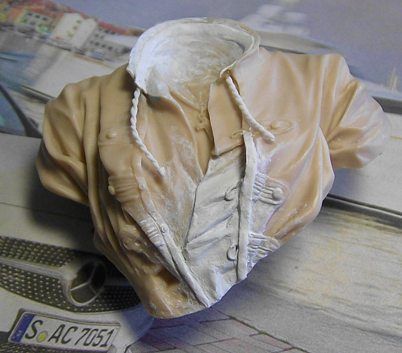
In order to assemble later my new sculpted Nagaika, the fugue must be rebuilt, which means the drapes of the shirt and the caftan are to change.


In this case I consider that the whip will not closely apply to the shirt, but a bit will stick out.

I do this in two steps:

Today, at first the shirt…:

Foto23_5.jpg


Foto23_6.jpg


Tomorrow he will be re-made the caftan.
 
24. Day, 20. November 2012

As last conversion step today I have rebuilded the right and the left edge of the caftans. At the original bust they are hidden by the dagger, but at my version they will be visible.

What can I say? ...
These two tiny lock loops have while sculpting them almost driven to madness, until I have to get them right.

Foto24_1.jpg


Foto24_2.jpg


ONE detail is still missing, namely the sash fragment below. I will scuplpt it after everything is painted and assembled.
 
It's always the little bits that kill you Martin, back in my drag racing days it would take me longer to fabricate a bracket for a bit of wiring than it would to rebuild the damn engine. It looks well though can't wait for the next stage mate (y)

Steve
 
First of all: Thanks Adrian and Stephan!

25. Tag, 21. November 2012

Usually I clean my parts under running water with an old electric toothbrush and soap.

This time, I got quite a few details that can easily break, such as the mustache-tips or cords on the shirt, or the parts of the pistol ...

That's why I was looking for a "bloodless" method of cleaning.

Essentially it's all about getting off fat residues of release agents or from the fingers or such.

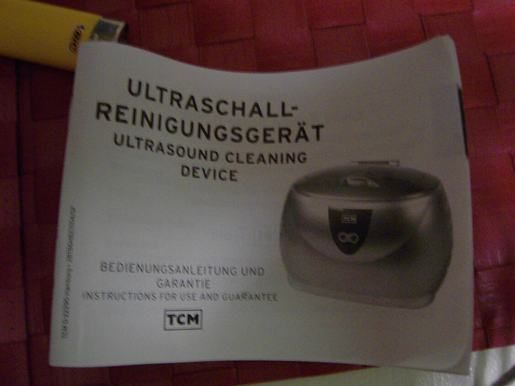
My idea was: Cleaning by ULTRASOUND!

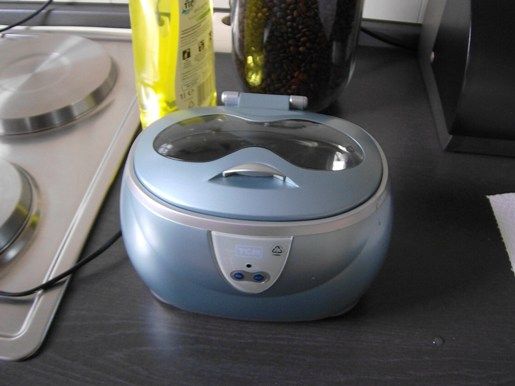
We have such a device that is normally used to jewelry making, clean glasses, etc…:

Foto25_1_1.jpg


Foto25_1.jpg


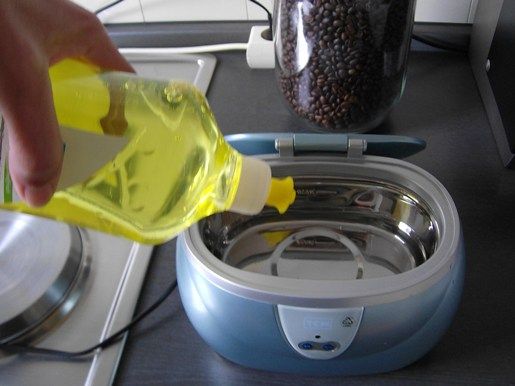
The handling is very simple: pure water in, a few drops of dishwashing liquid too ...

Foto25_2.jpg


... then the part to be cleaned (in this case the head) place into it...

Foto25_3.jpg


…and let the ultrasound for about 10 minutes to do his work ...:

Foto25_4.jpg


The turbidity of the water shows where the dirt is left ...

Foto25_5.jpg


All parts are clean and completely undamaged come back out ...:

Foto25_6.jpg


Then again under warm water rinse to remove the last residues - DONE!
 
Thanks, mate!!!

26. Day, 22. November 2012

Today I did the working-blocks for all the parts and they finally fix it.

All the connections I make with "UHU glue" - which makes sure that I get the things later easily from ...:

Foto26_1.jpg


However: Small exception to the rule: The torso now receives its final aluminum rod and the connection I make with a two-component adhesive.

In working block, however the aluminum rod is also attached with "UHU glue" because I here have to disconnect again later and the bust to its final base will be mounted…:

Foto26_2.jpg


Then everything was primed ...:

Foto26_4.jpg


Foto26_3.jpg


The painting I have to move to the next week,, because the dark primer has brought to light that I


have to correct a few places on the neck again.
 
Thanks Steve!

27. Day, 23. November 2012

It's really not much that I have corrected the neck, but it seemed necessary to me. The repaired location of the neck muscle, for example, was a deep cut, which I had left with a fingernail by wrong handling..:

Foto27_1-1.jpg


And as I thought to be finished and watched the head again carefully under the microscope, I saw a tiny hole under the (in the photo) left cheekbone.

First I thought yes, I'm also guilty of that or ultrasonic cleaning has left its mark, but if we look at old pictures, the point was there from the beginning ...:

Foto27_2.jpg


It is small enough, , long long not to seen but too deep for later "off" to paint. Gee I'm glad I have noticed it yet!

Now that is also corrected...:

Foto27_3.jpg


So - and so I say goodbye to the weekend, I use the next days as a moving helper.

Monday's next here.
 
28. Day, 26. November 2012

According to this model...

Foto28_1.jpg


…our Ataman gets very dark black-brown eyes.

And I've worked with these colors ...:

Foto28_2.jpg


The "White" in the eyes occurs toward the inside with these colors ...

Foto28_3.jpg


... and to the outside with these colors ...:

Foto28_4.jpg
.

Finally, a reflection point in both eyes with pure white.

I am pleased with the result, because I have brought a rather intense look into existence, I think ...

Foto28_5.jpg


Sizecomparison...:


Foto28_6.jpg


Foto28_7.jpg
 
Thanks Colin!

29. Day, 27. November 2012

Today a few small adjustments to the eyes.

First, the reflex points are still a bit smaller.

Then I have a tiny red "triangle" ​​on the inside of the eyes made more reddish. With these colors ...:

Foto29_1.jpg
)

And I have just painted the eye areas.

Here I try to create a skin tone a tad darker than on my model photo.

I have worked with these colors ...:

Foto29_2.jpg


Then I painted carefully placed some highlights.
In addition I have lightened my skin mix with a little ...:

Foto29_3.jpg


What it looks now ...:

Foto29_4.jpg
 
Thanks Colin, Mike and Adrian!!!
---------------------------

30. Day, 28. November 2012

Well - now the first cheek.

I mix to my skin for the darkest places a little touch of violet. Looks good!

Foto30_1.jpg


And finally again a few isolated high lights with "Light Flesh" ...:

Foto30_2.jpg


Foto30_3.jpg
 
Thank Your very much, Steve!

32. Day, 30. November 2012

Well, since half an hour our Ataman now also has a nose - and slowly it begins to look like a face.

Foto32_1.jpg


Foto32_2.jpg


Foto32_3.jpg


Foto32_4.jpg


Foto32_5.jpg


The idea behind the whole color scheme is that after all my faces in the past, which were often seen as too "pale" or "smooth", now I want to try more contrast and some "foreign colors".

I'm planning at the temples - very carefully - use something green.

Next week...
 
Back
Top