Ethan
Well-Known Member
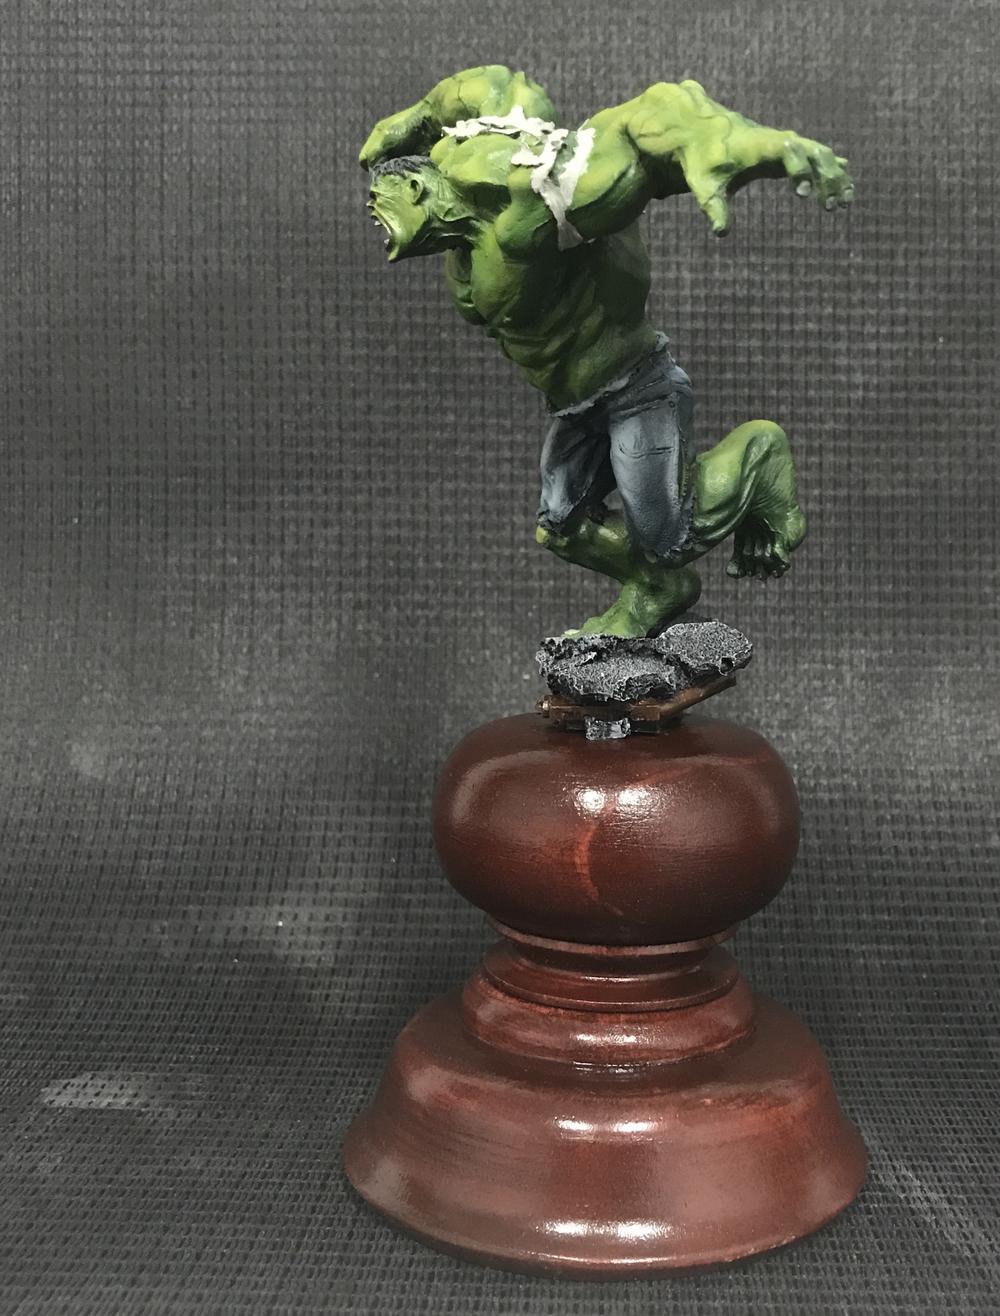
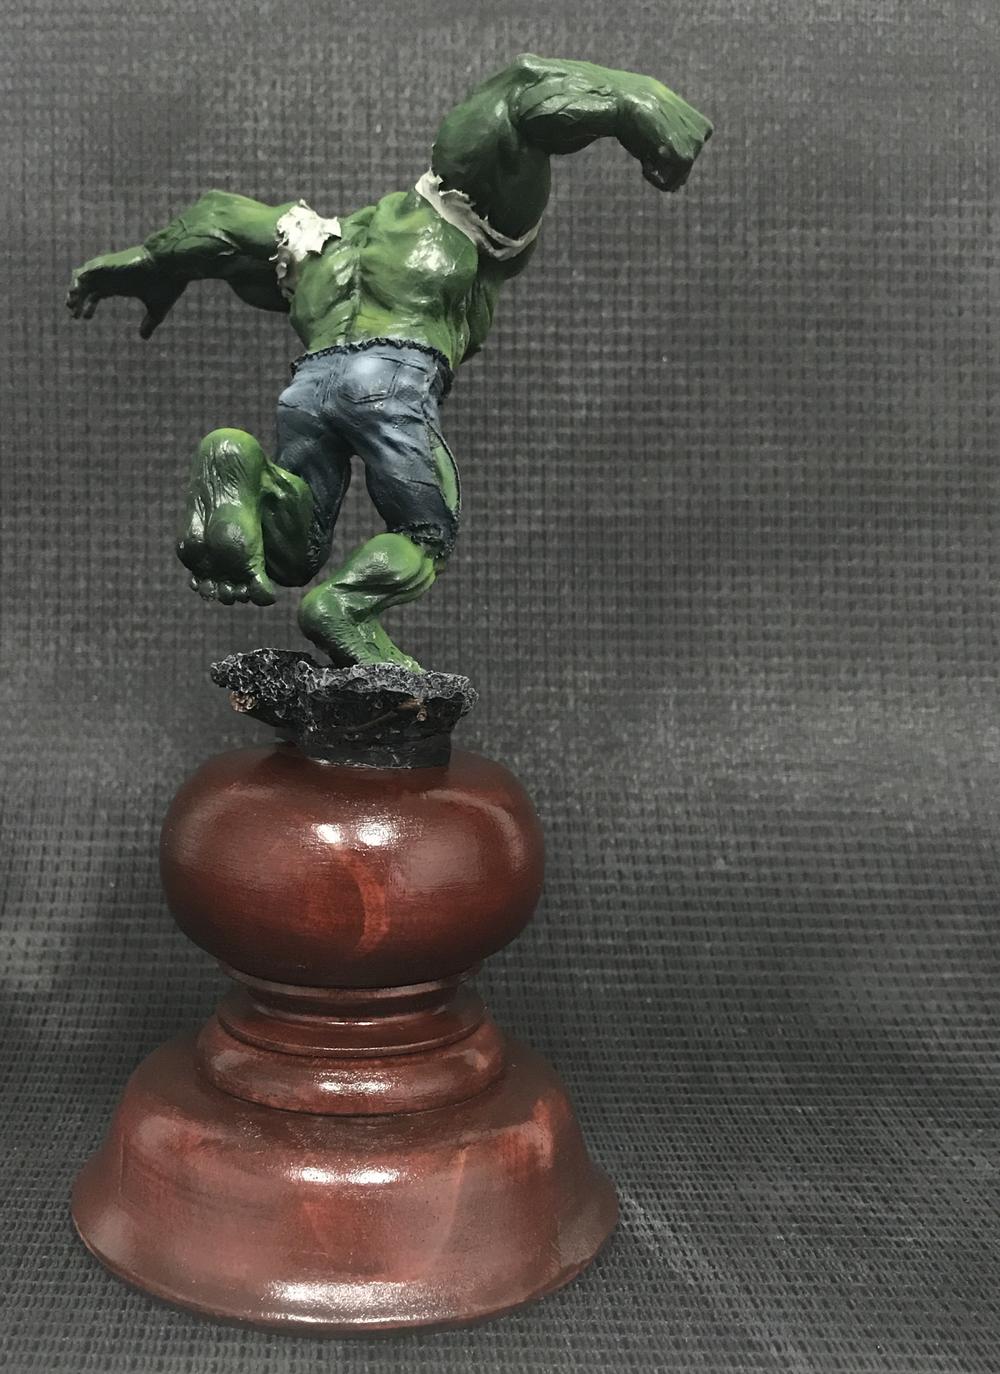
From Knight Models, here is my build of The Hulk.
Its a picture dump of the entire process from beginning to end. I will try to document my process. I have been airbrushing a lot so this was my first good attempt at airbrushing a complete figure and only using a paintbrush for the facial details.
I forgot to document the immense task of filling the gaps and putting the pieces together. the pieces did not fit well and there were huge gaps to be filled! Luckily they were on clothing seams so it was not an arduous task to blend the edges. I used Aves epoxy sculpt and blended the edges with a sculpting tool and a wet paintbrush.
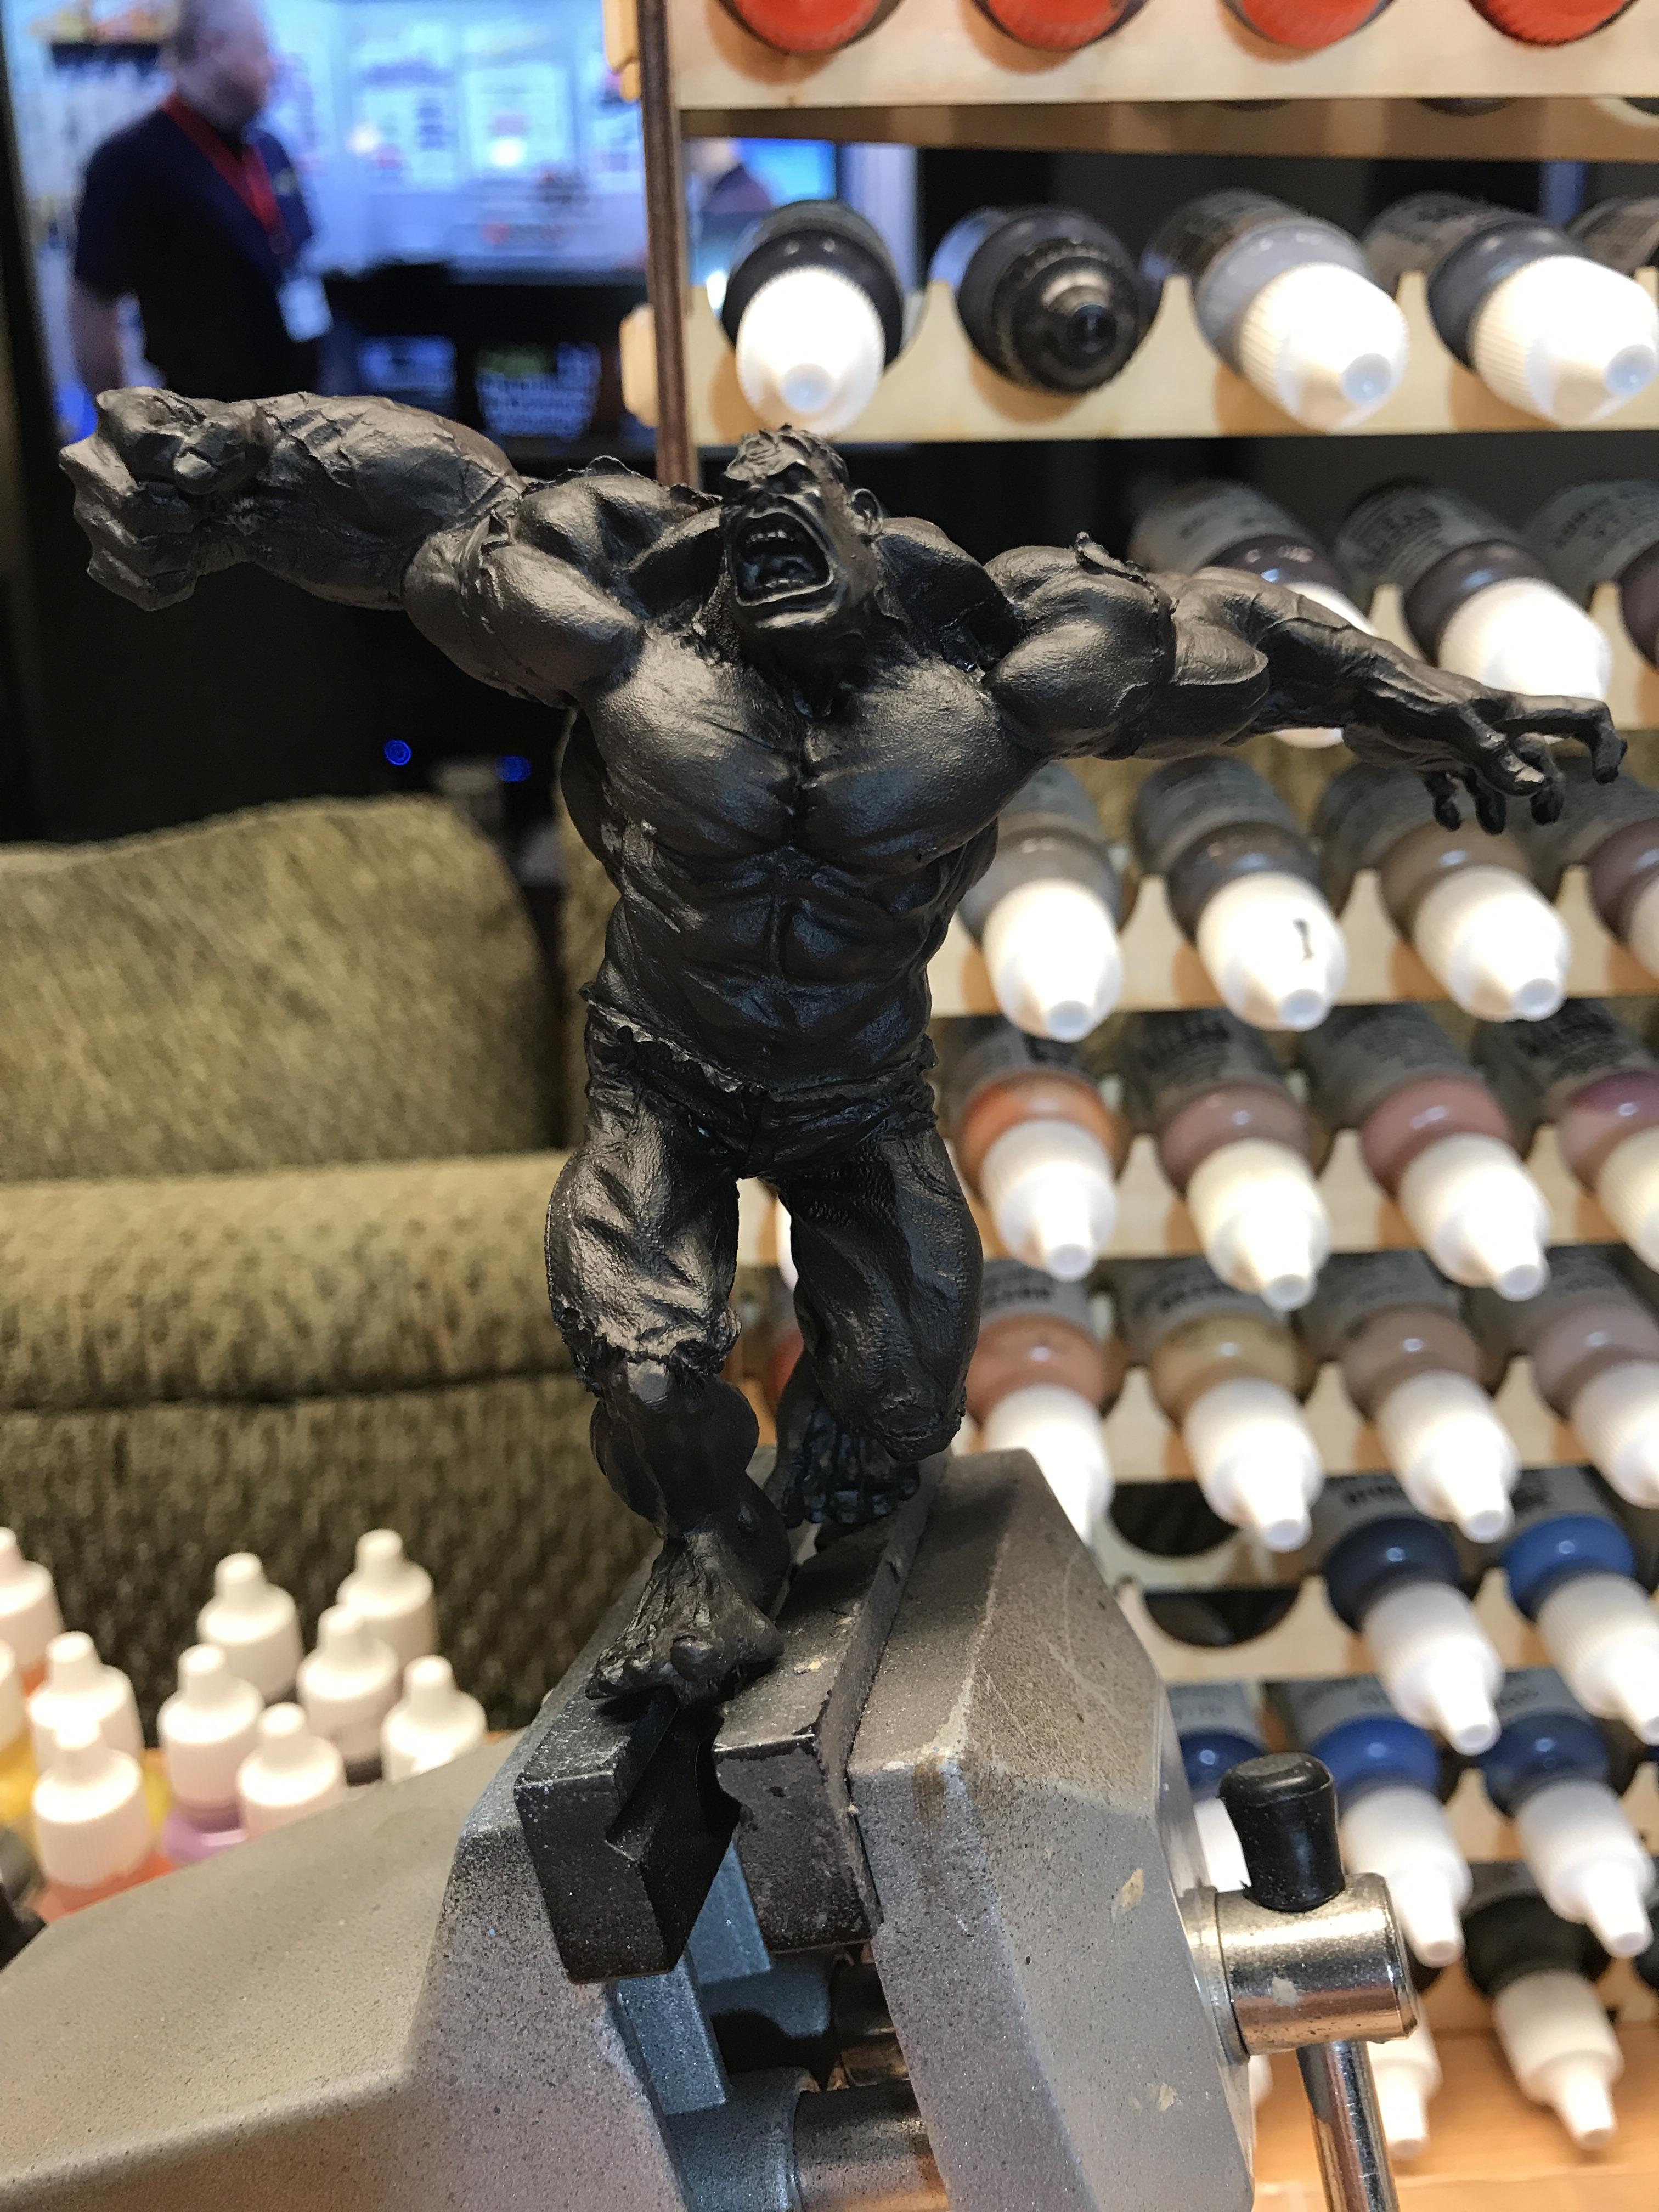
Once the figure was put together and seamed it was time for a base coat of vallejo black primer
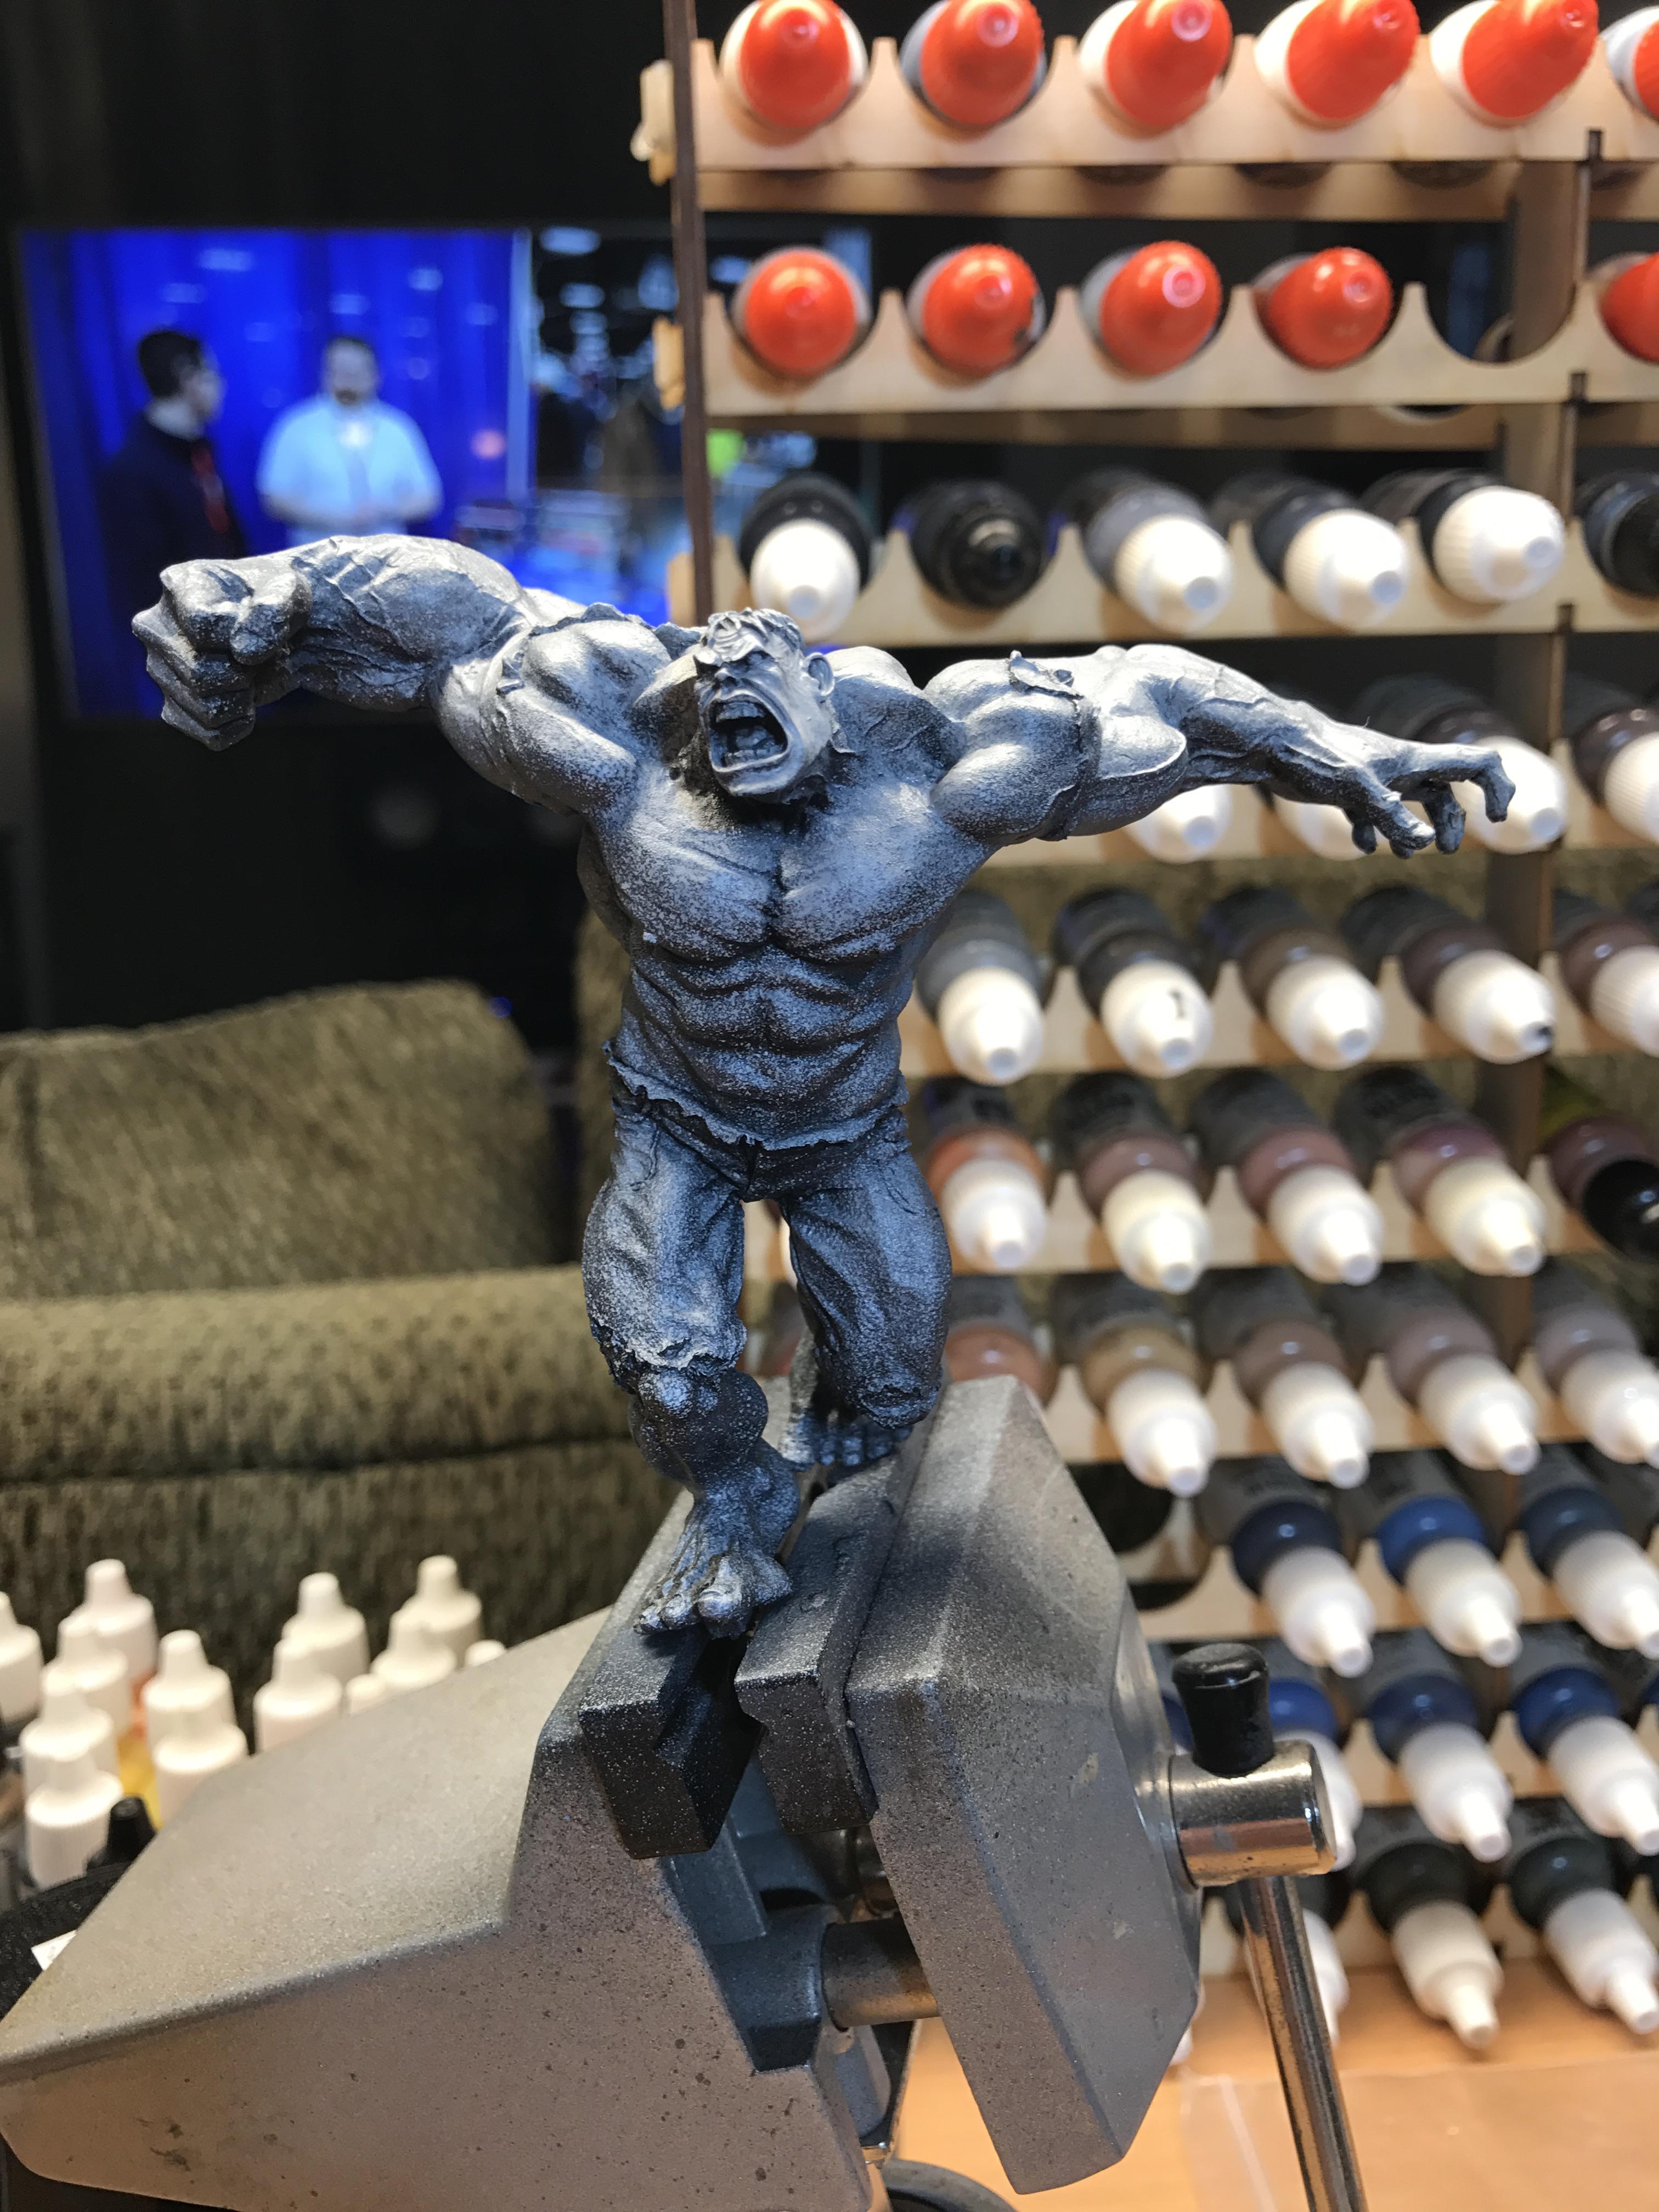
Next I applied vallejo grey primer from the direction of my "light source" to paint me a map of the highlights and shadows. Most of this gets covered over but using a glazing technique with the airbrush I was able to really make use of this "map" on the upper body and shoulders/arms.
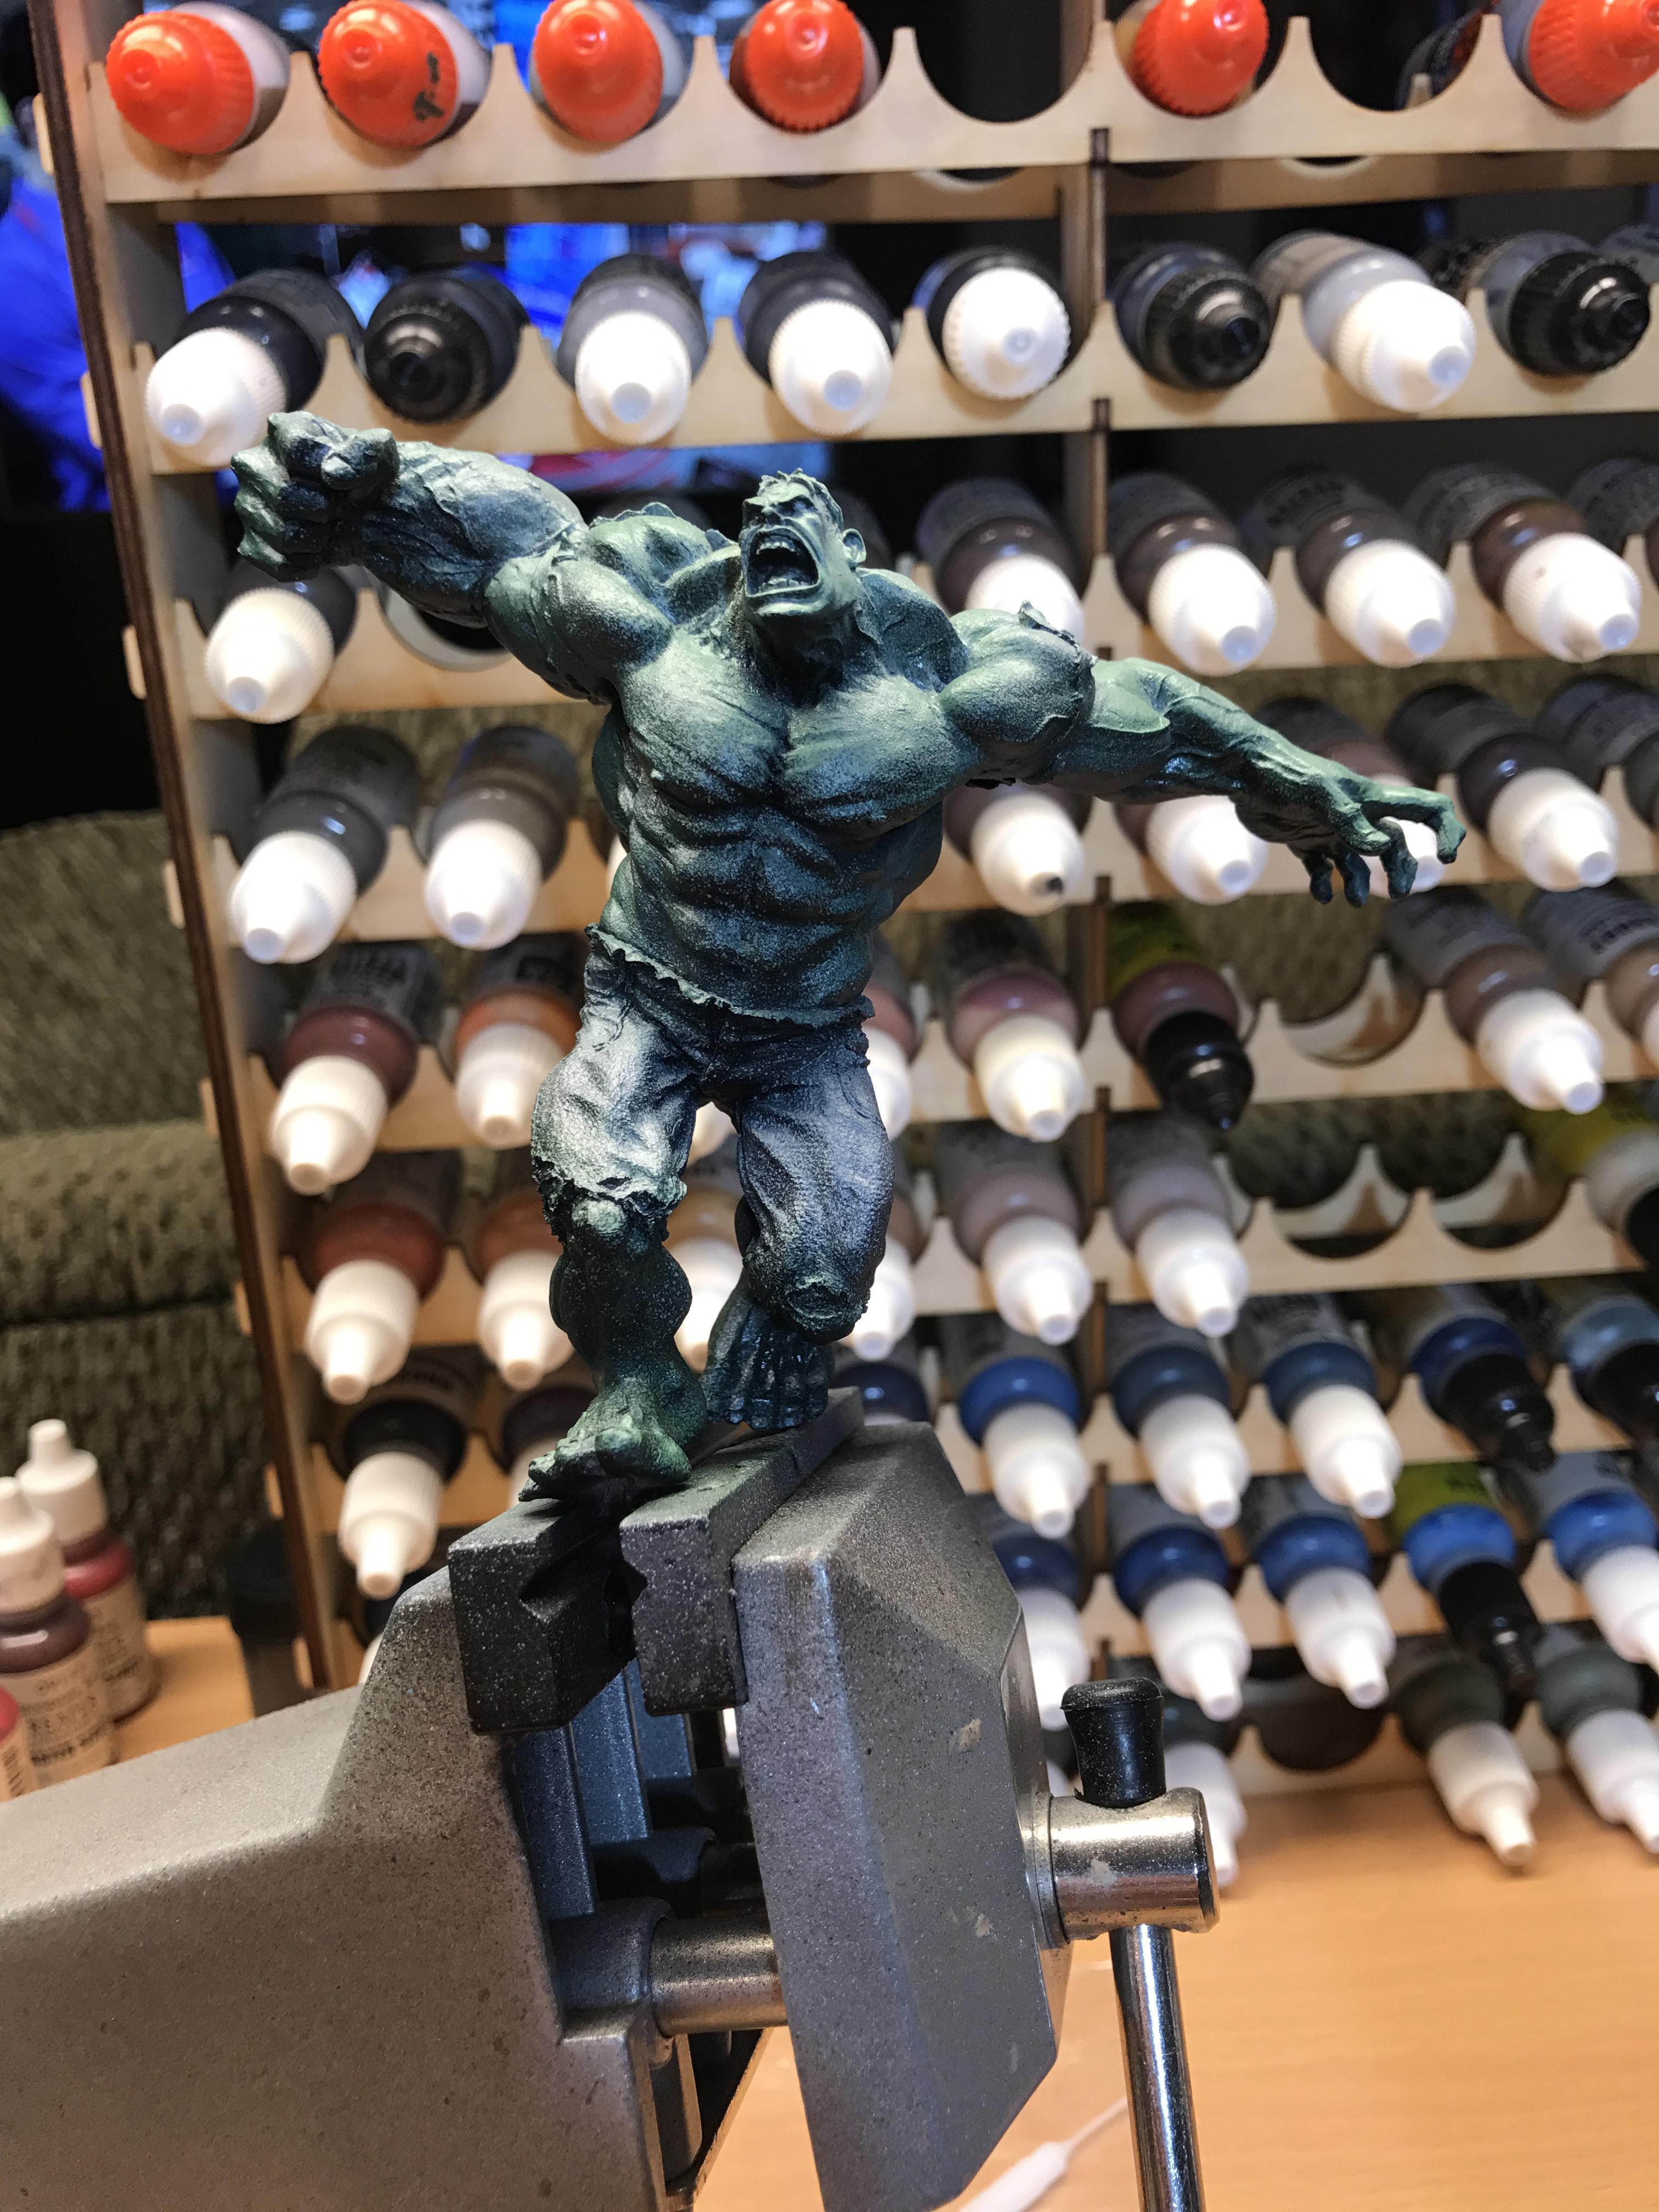
I'm not going to get the names of my paint right because I am not at home but I know the base color was Reaper Pine Green. I used 4-5 drops of Vallejo flow improver and 1-2 drops of paint, making a nice glaze and slowly built up the shadow color.
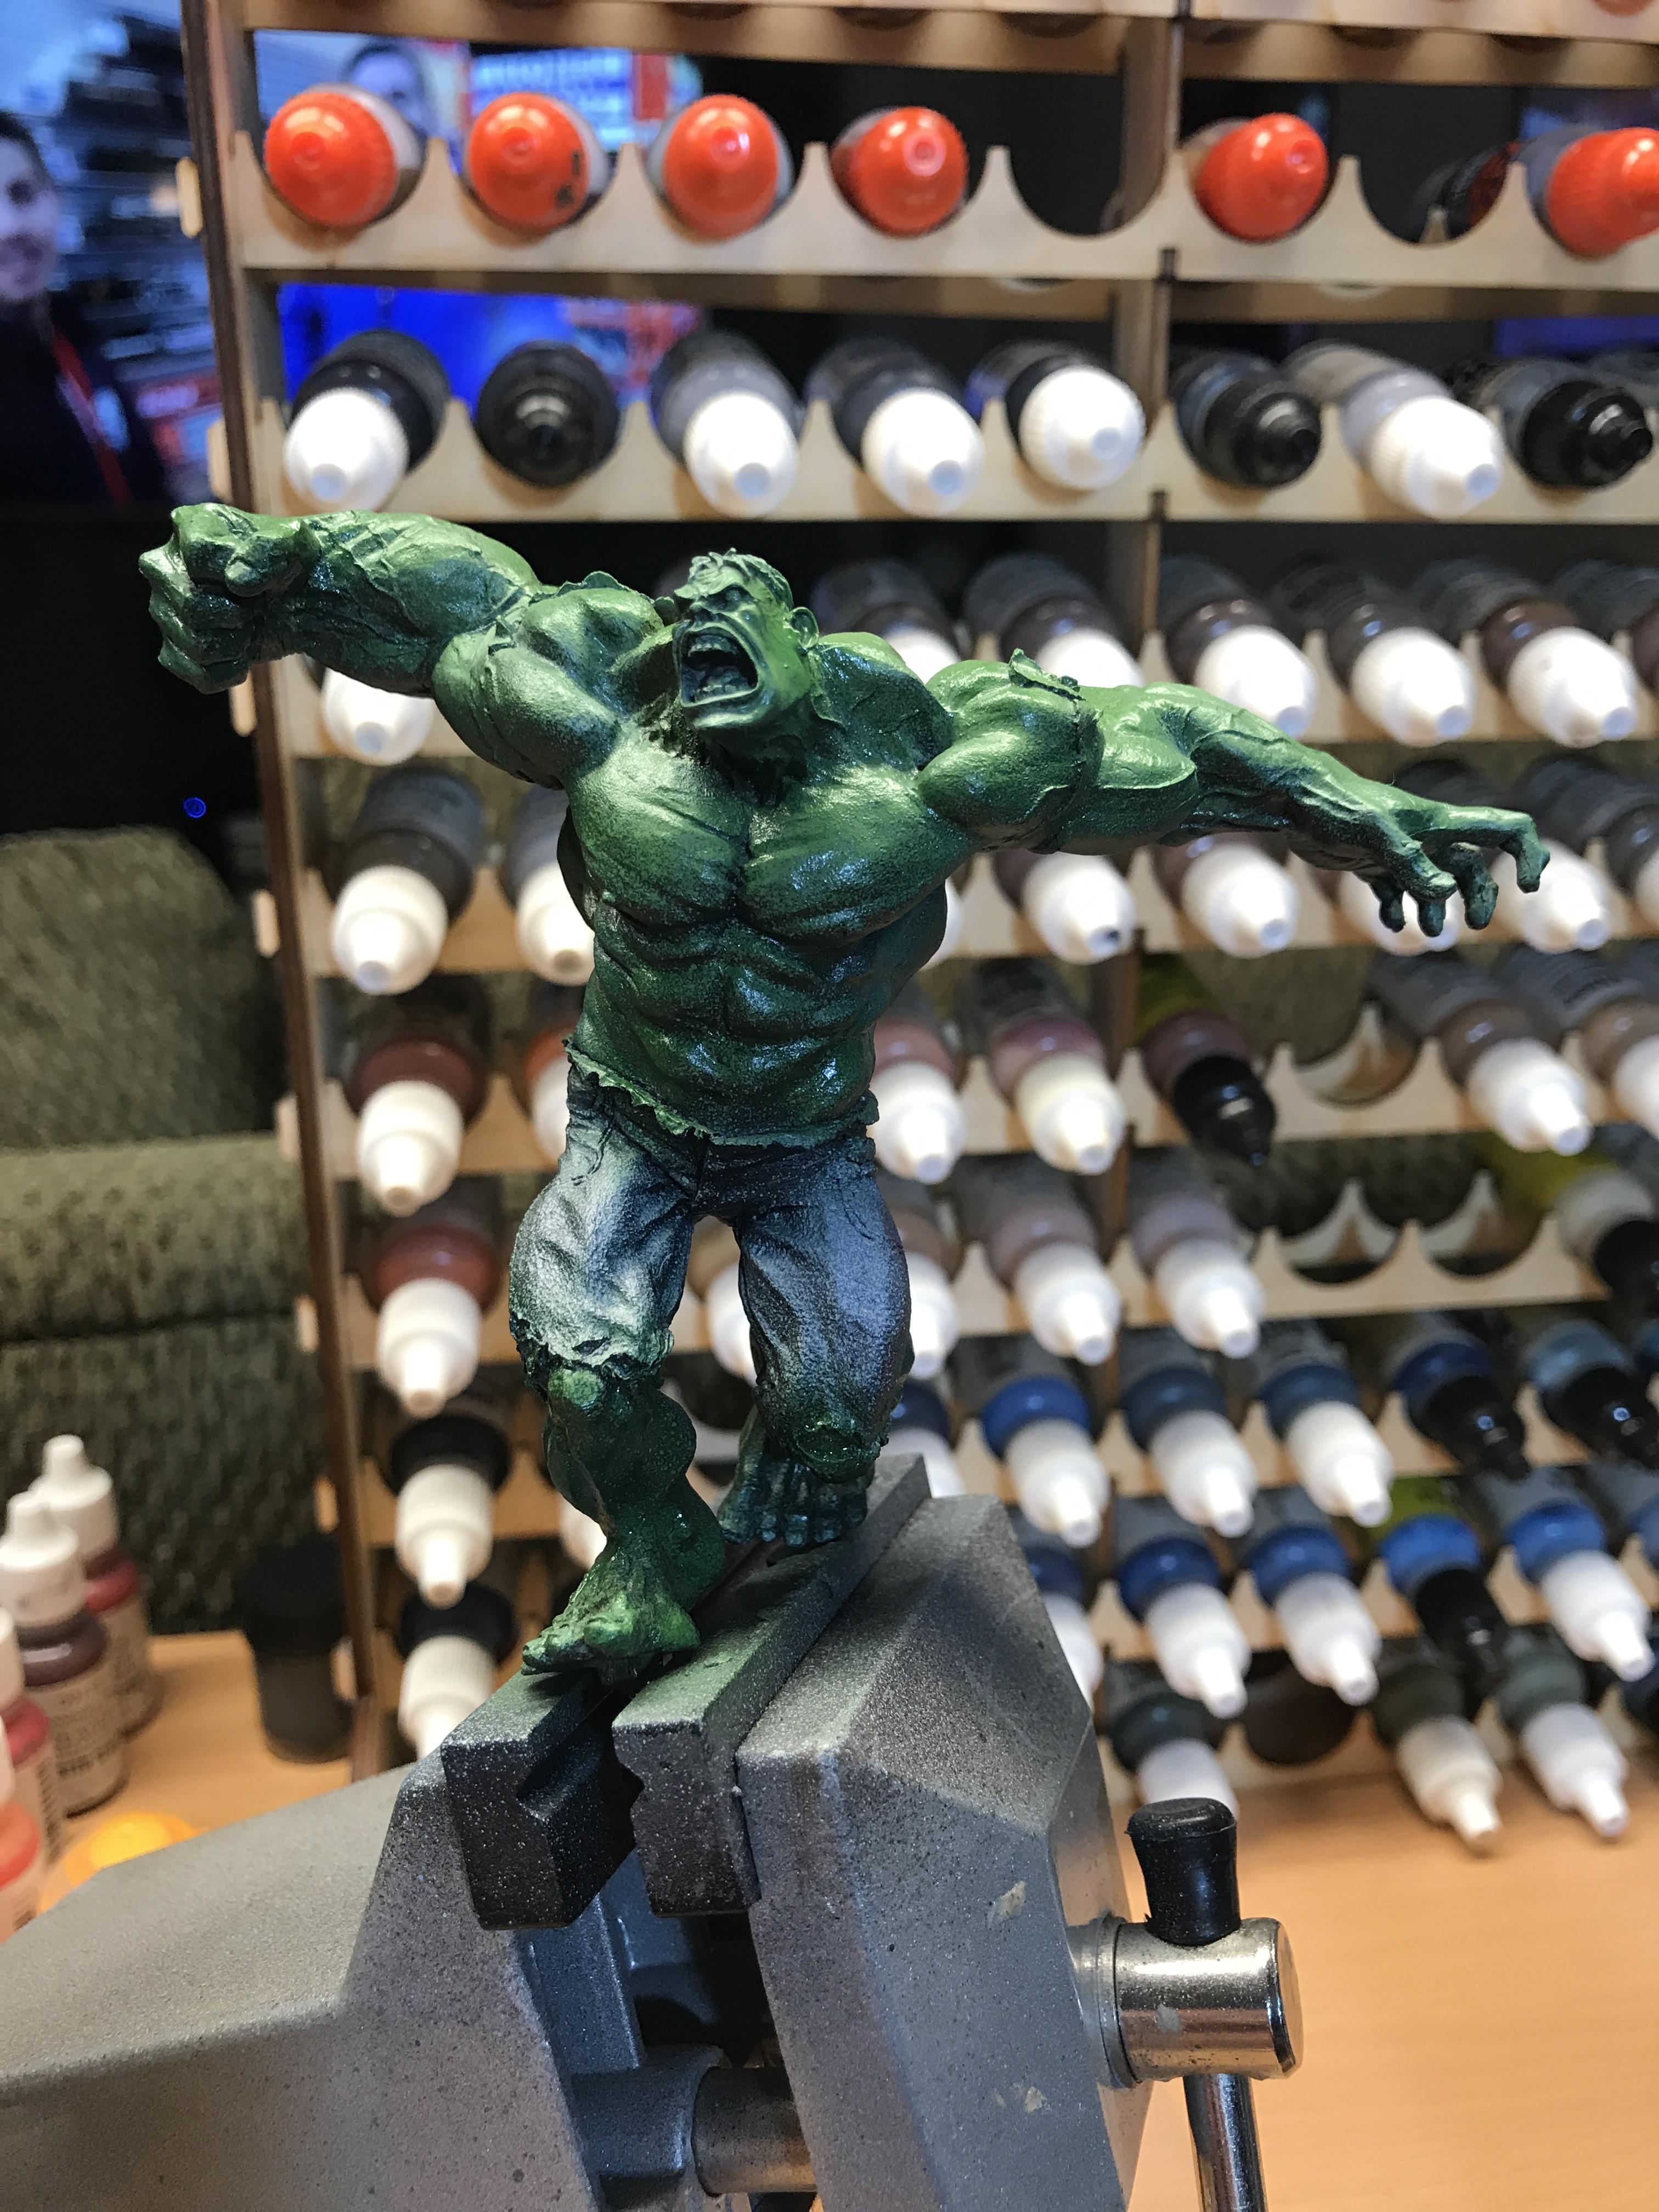
No I went in with a more true green color from Reaper and started to glaze the midtones. I am probably 6-10 layers of color now, just building glazes. They dry super fast so this process is not tedious. The main trick is to keep the coats light and not wet down the surface of the figure to the point of splattering paint or making puddles.
Now the fun part begins. I start mixing yellow into the same pot the green is. This Citadel super yellow is an amazing paint to mix with! If you look for it just look for the brightest most pure yellow and you will have it! I am trying to work into the surfaces and leave the edges in midtone green and the recesses in that dark green.
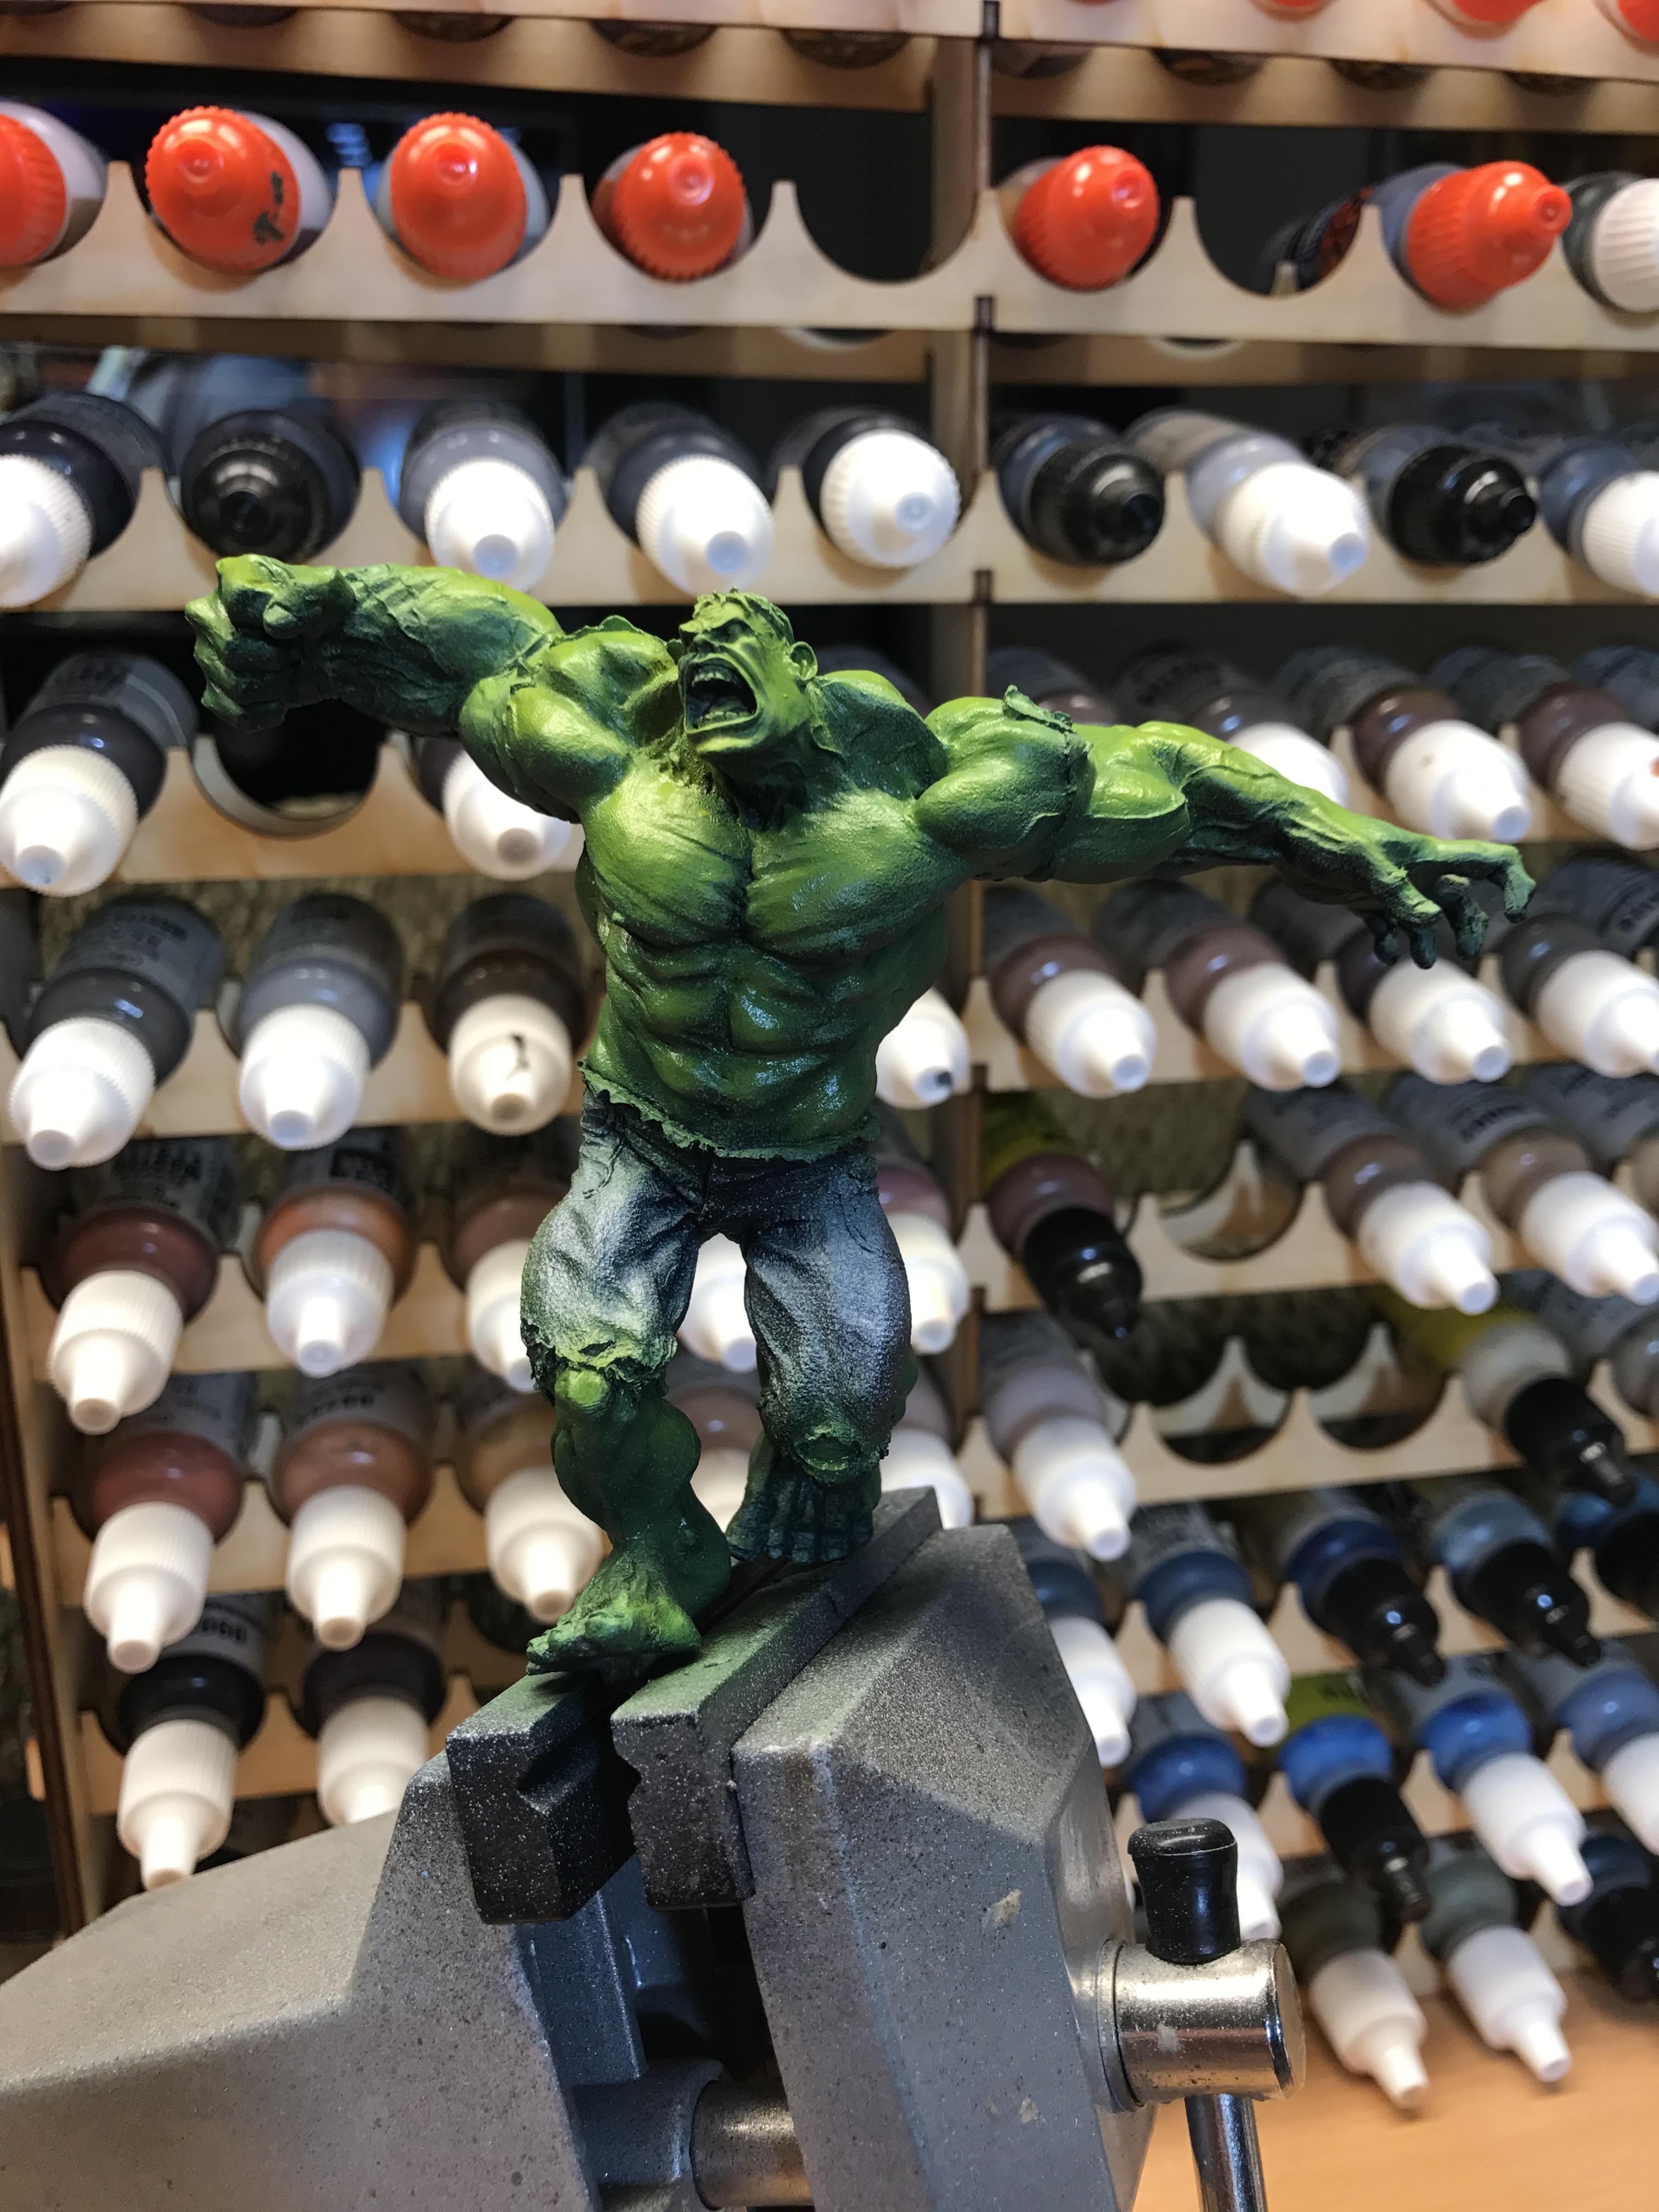
You can see the progression here. This is just going back and forth, back and forth, working the highlights.
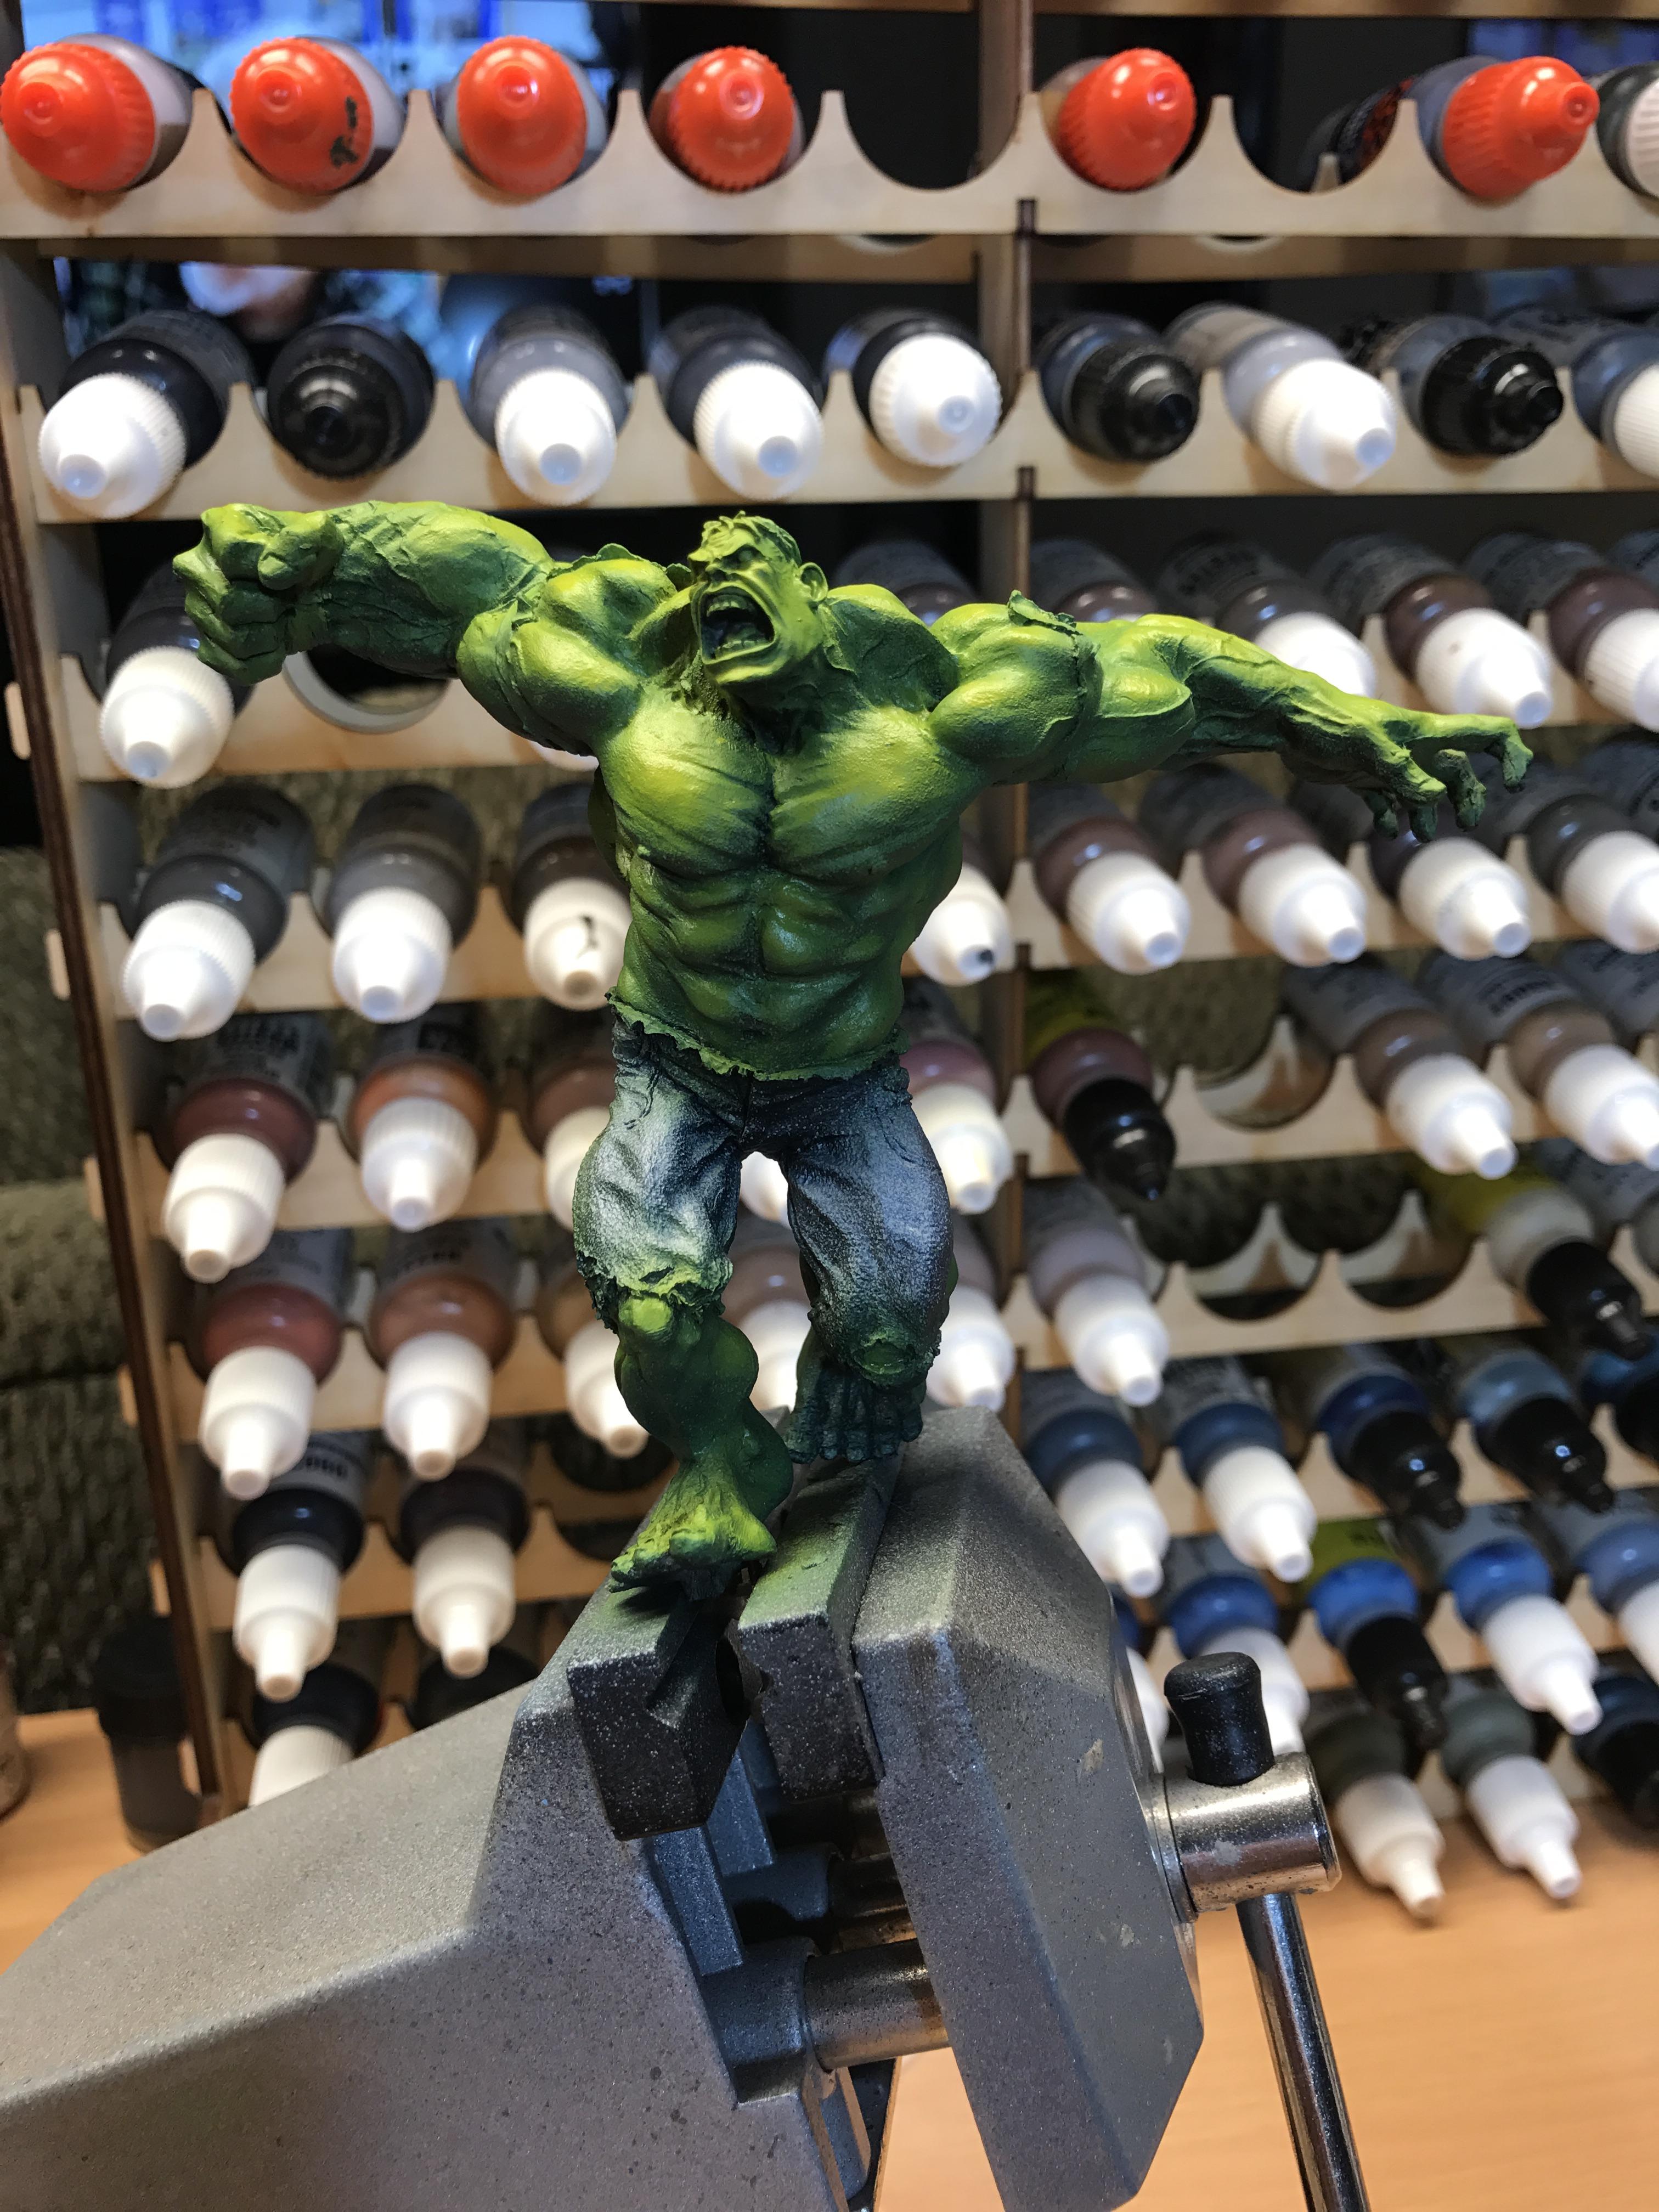
And this is the result of the first 2 hour session. Everything looks pretty good but I am feeling like the yellow is too prominent and the contrast while absolutely stunning from far off, is just a little bit too far.
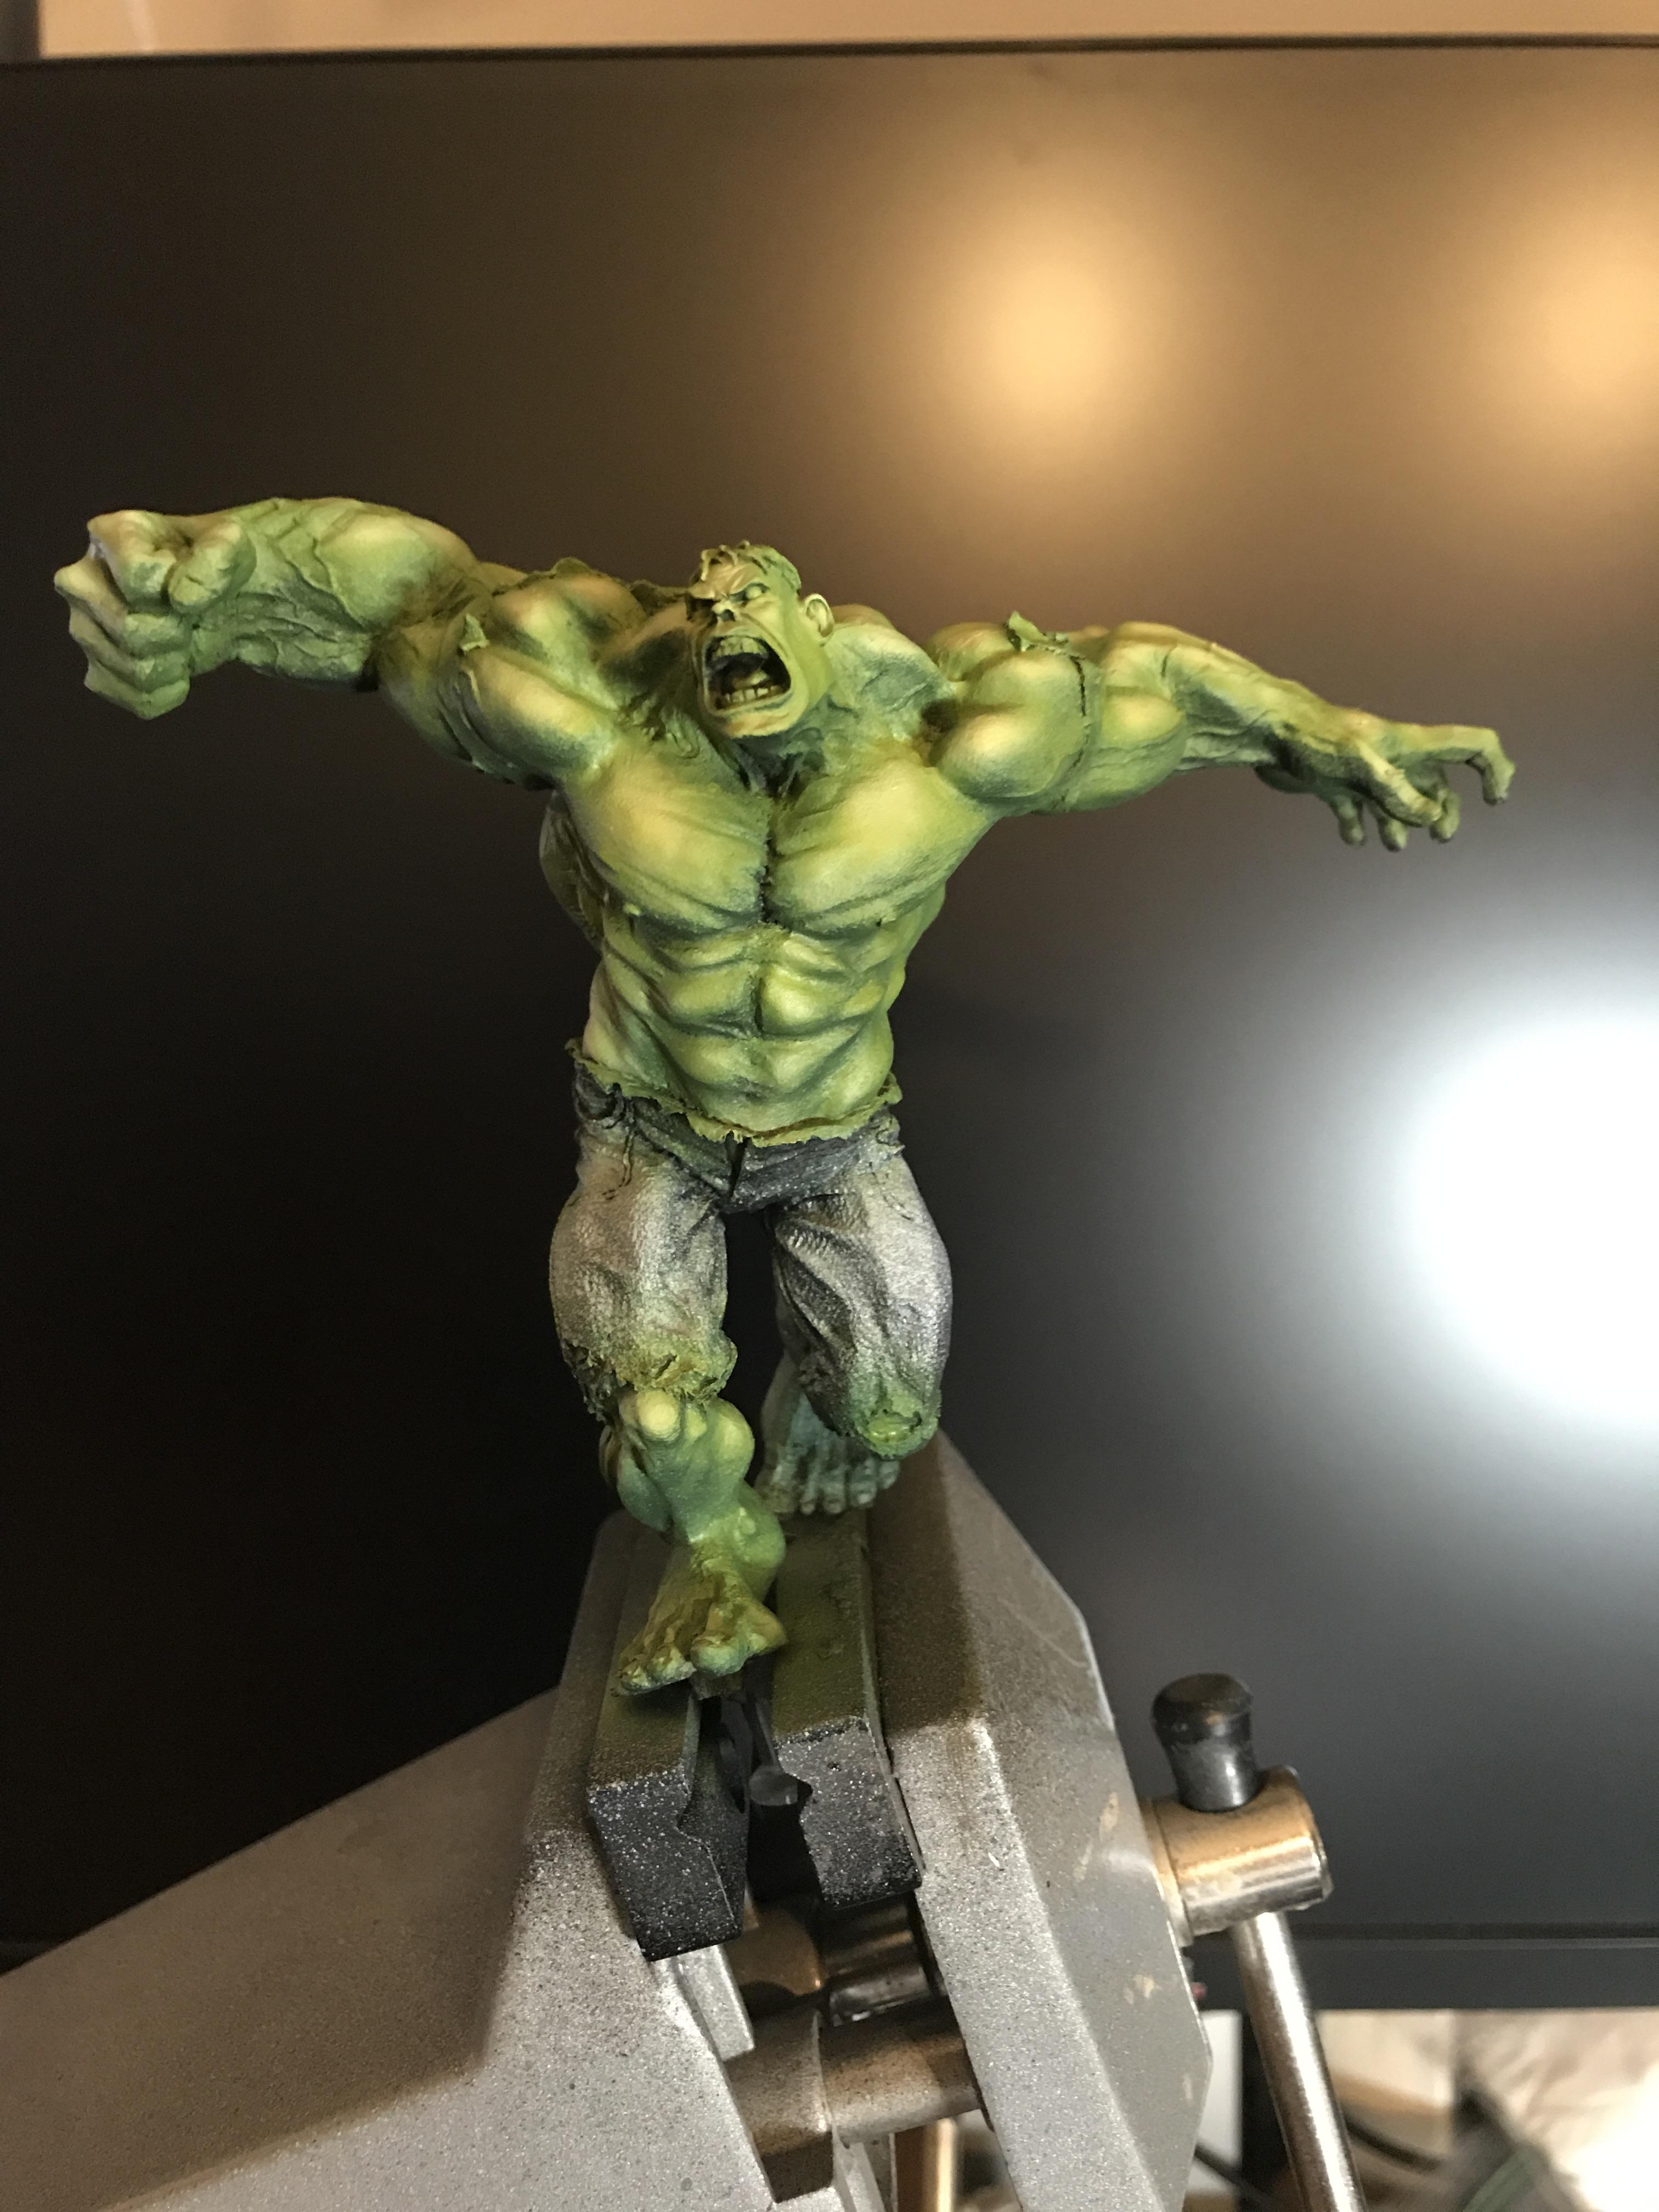
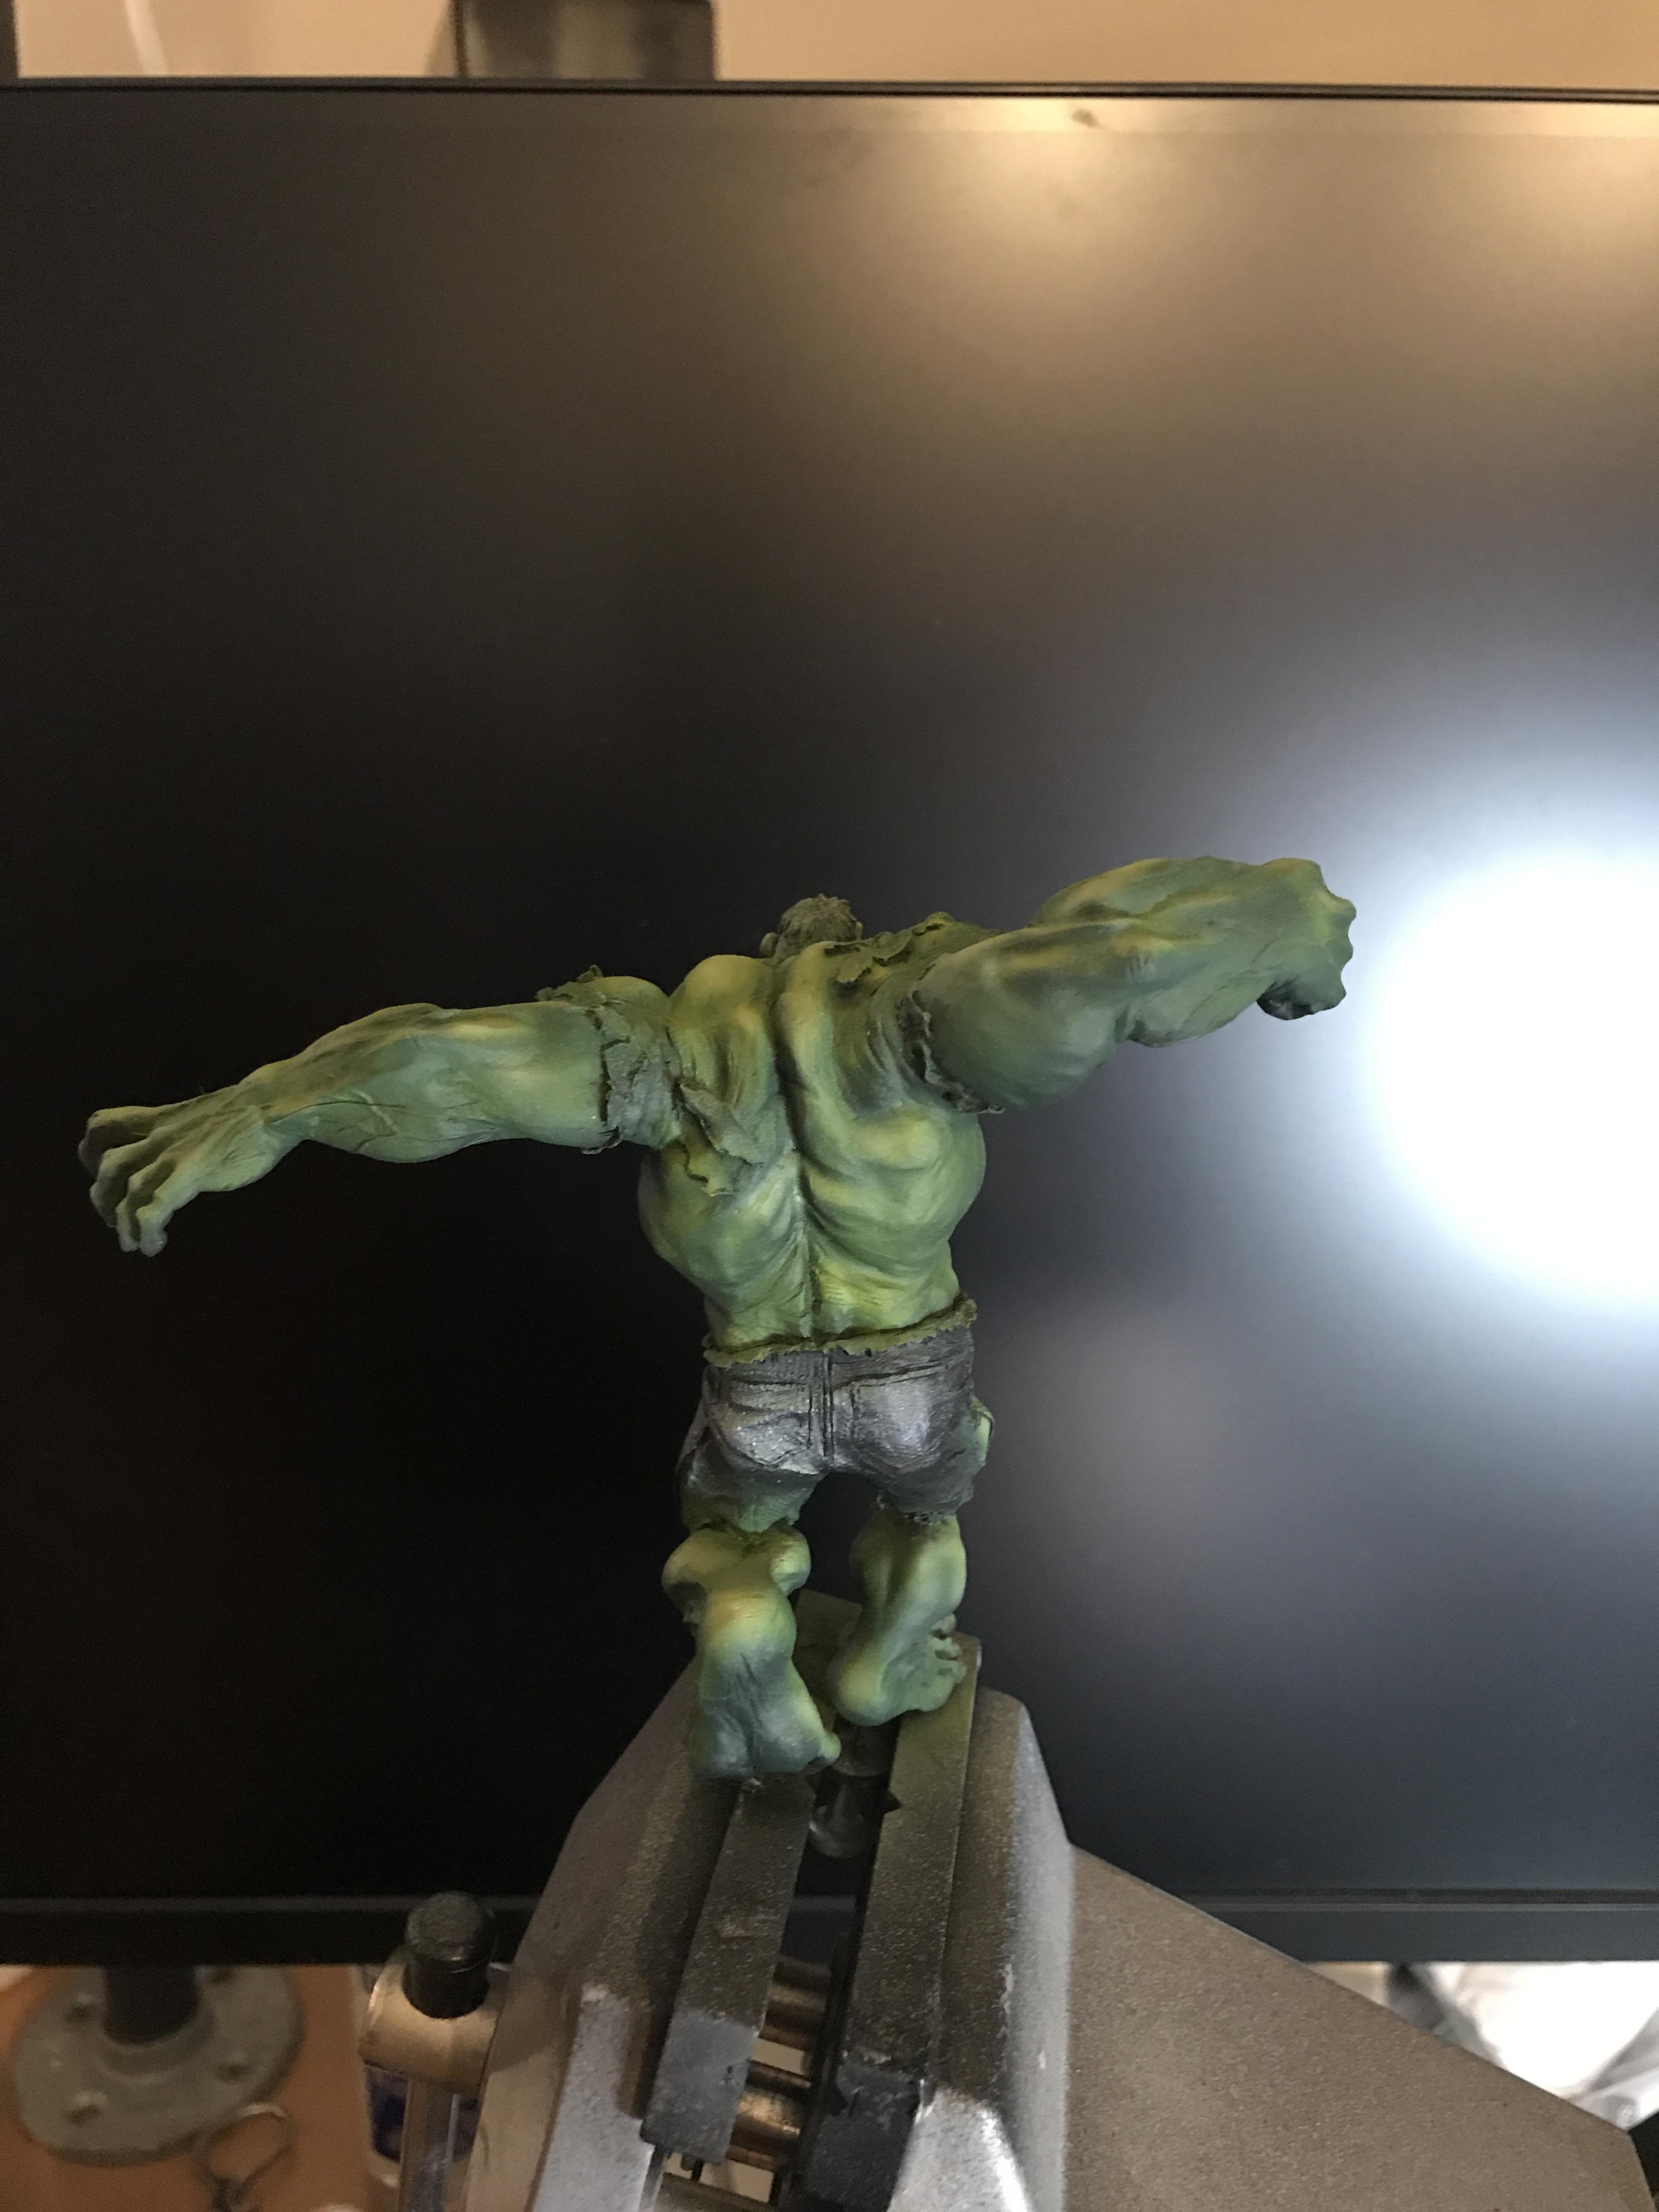
Here I have to apologize for not taking a lot more pictures. This project is a surprise gift for a friend and I had to finish quickly. I spent one session toning down the highlights and then made an error trying to wash the recesses. I had to start over, covering the error and working the highlights back up, matching the colors. This was the result. I like the super smooth transitions but again, the yellow is too bold!
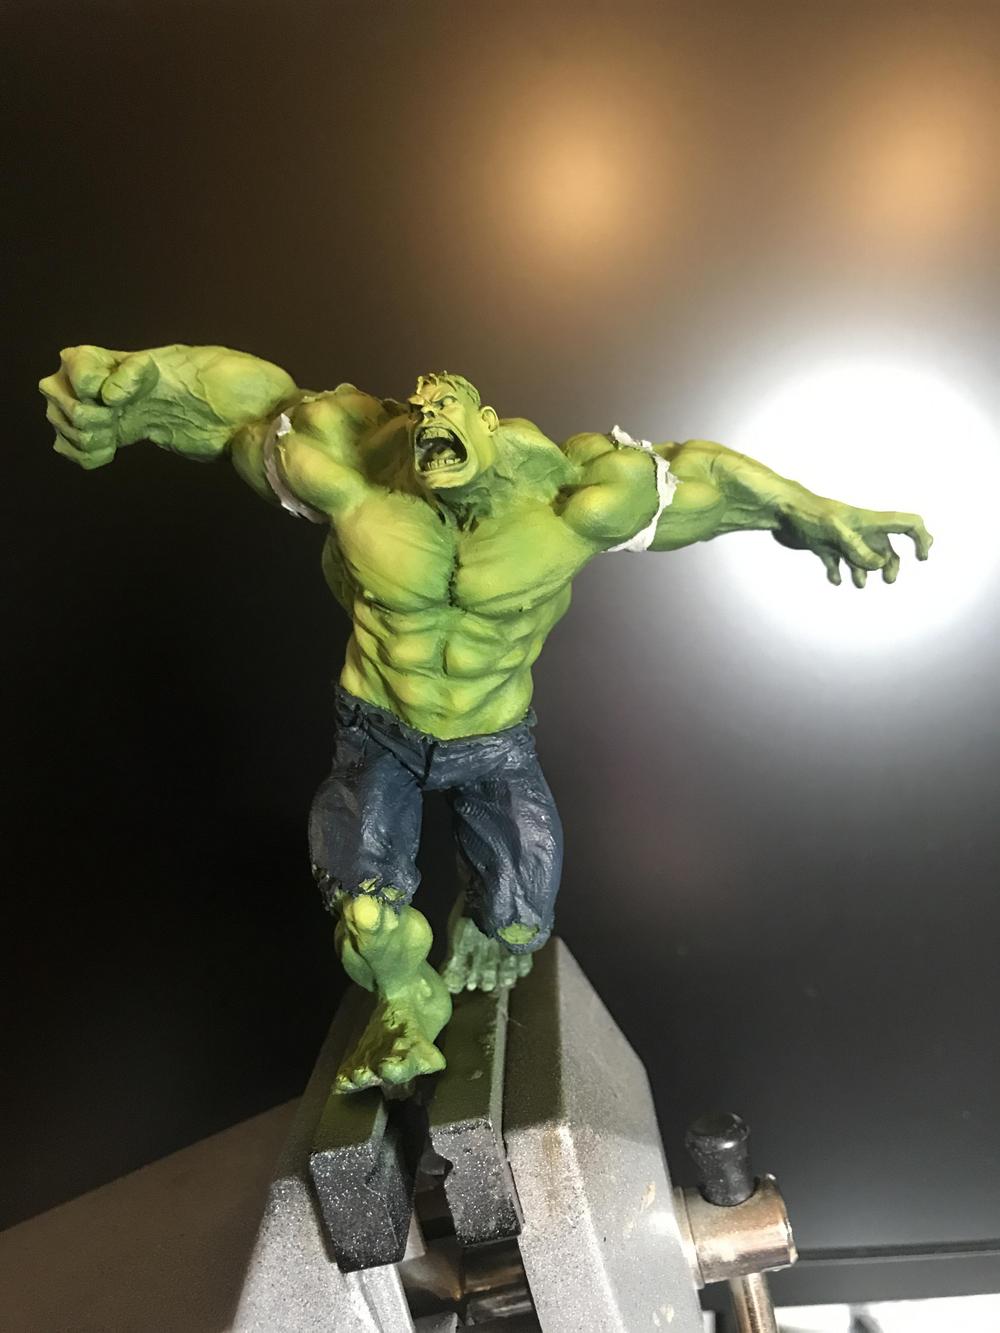
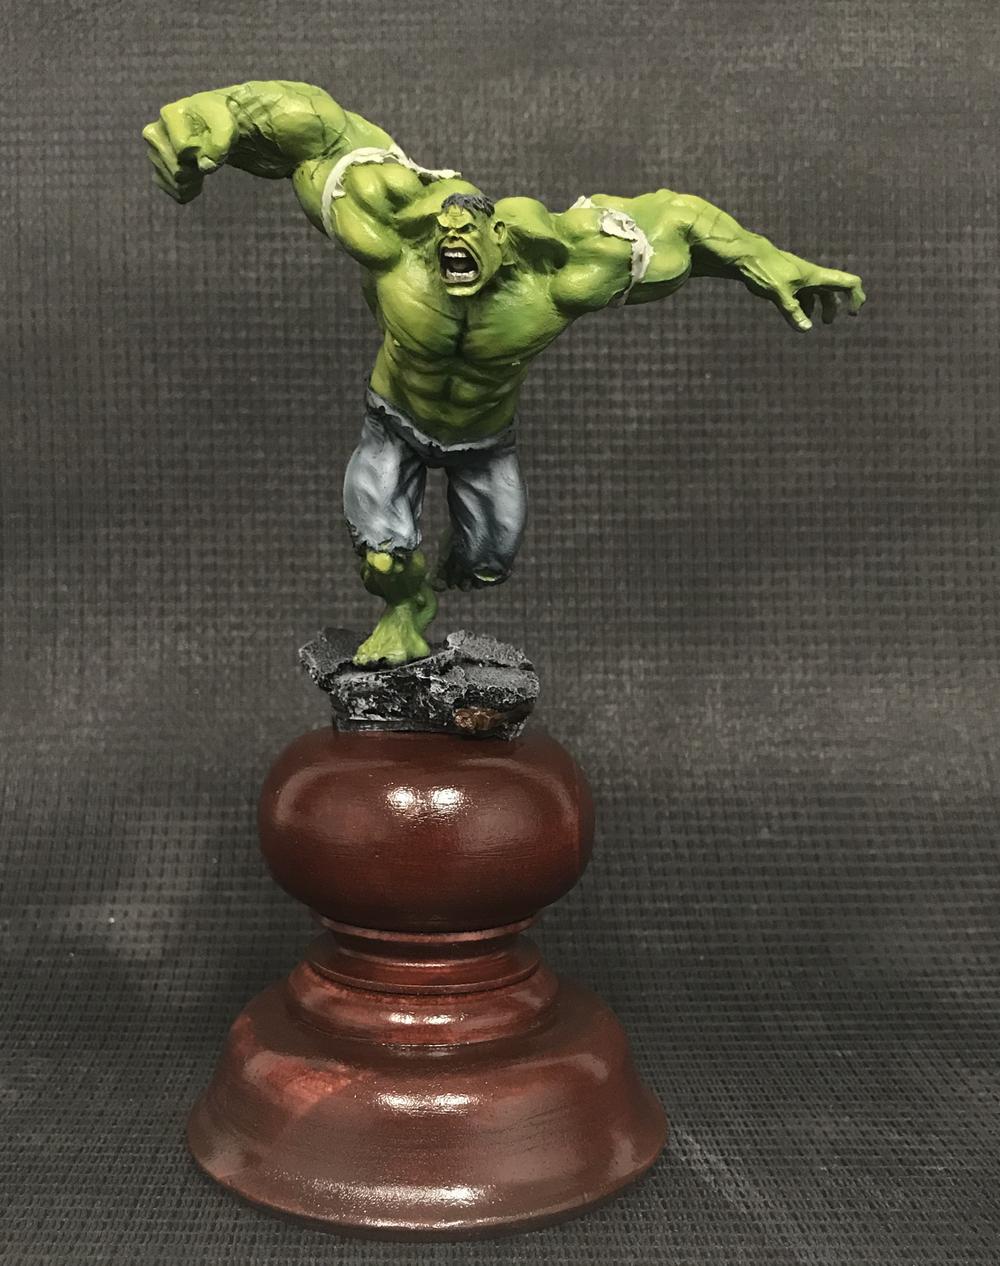
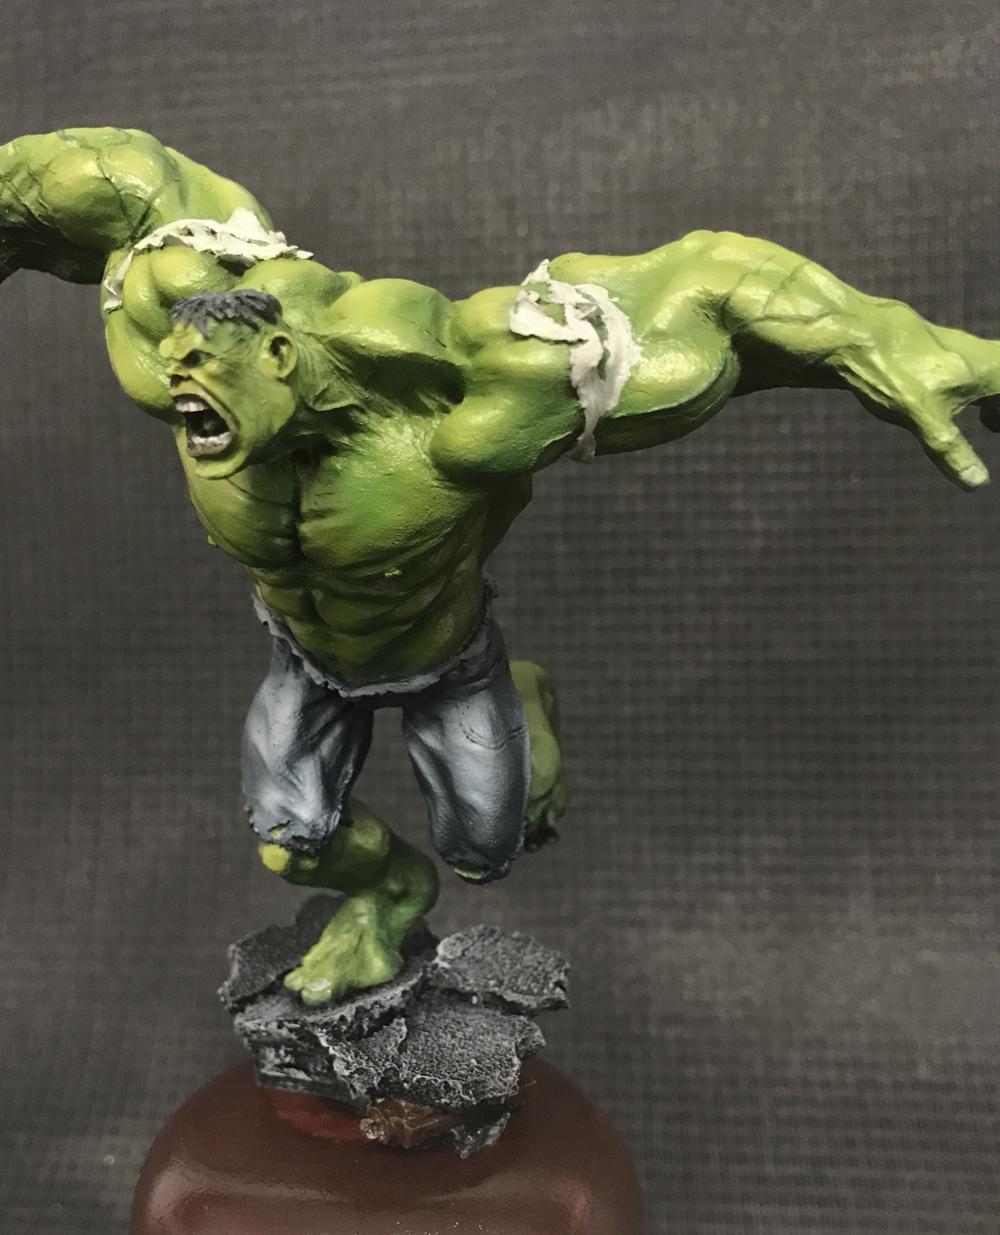
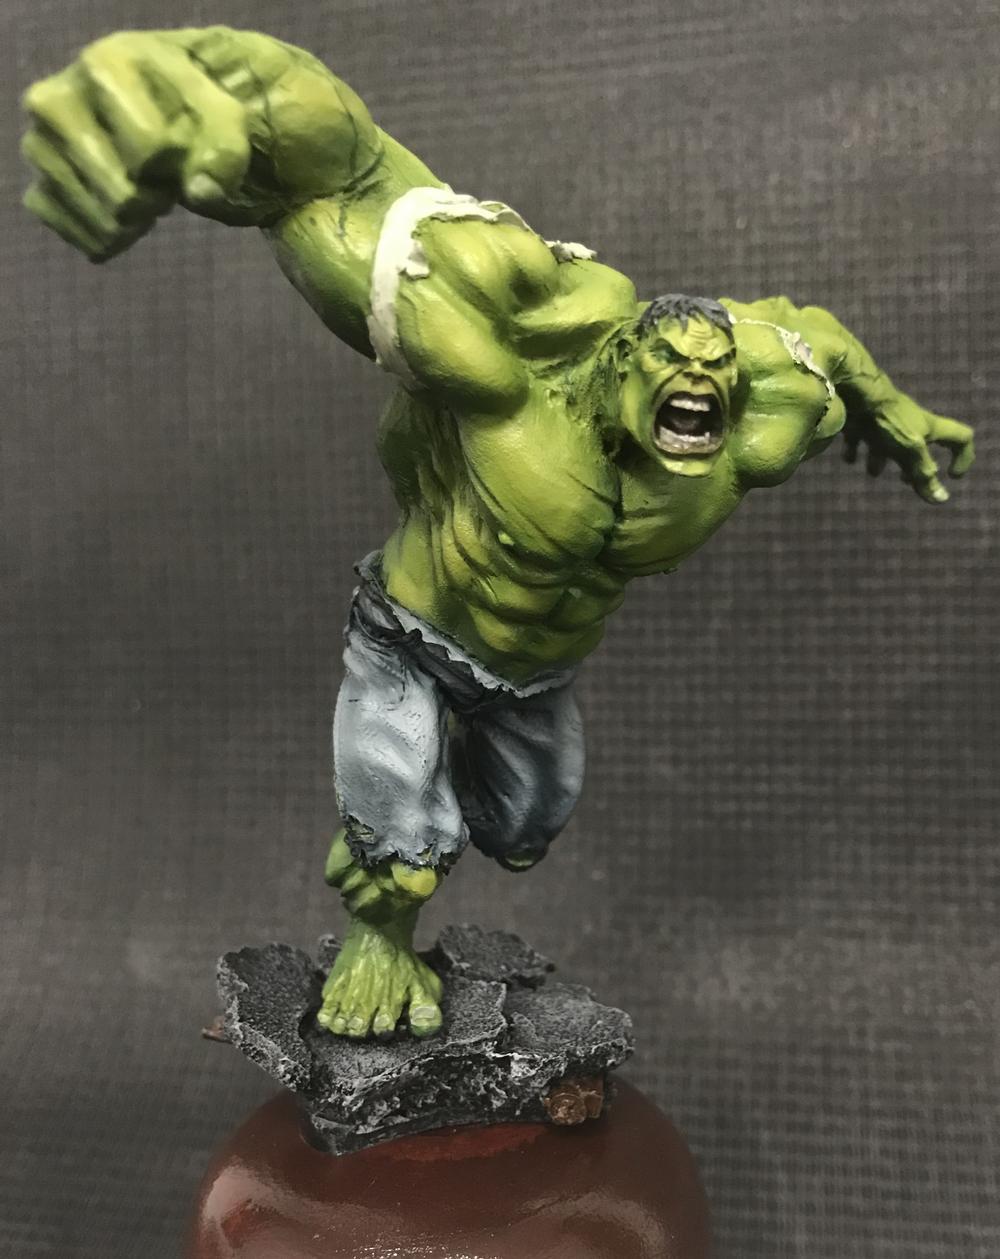
So now the progress shots stop. I go back and mix a true green glaze, super thin with 4-5 drops of flow improver and 1 drop of paint. Then I start working the highlights down, bringing them back to the green spectrum. Also hitting the shadows to add more green and overall just tightening things up. Then I hand brush the hair and the base coat of the pants and torn shirt. Just a grey for the shirt and dark blue for the pants. I then have another session and here I do the mouth and eye details, add white to the shirt for highlights, add highlight with a bit of grey to the hair, and then airbrush lighter blue to desaturated blue/ to the pants. The final touch was the base resin piece which is black primer, and then dry brush of medium grey and then off white, painting the pipes with AK old rust.
The base is made from a candle holder I found at Michael's. I took the candle top off and sanded the top flat, stained and polyurethane.
Its a picture dump of the entire process from beginning to end. I will try to document my process. I have been airbrushing a lot so this was my first good attempt at airbrushing a complete figure and only using a paintbrush for the facial details.
I forgot to document the immense task of filling the gaps and putting the pieces together. the pieces did not fit well and there were huge gaps to be filled! Luckily they were on clothing seams so it was not an arduous task to blend the edges. I used Aves epoxy sculpt and blended the edges with a sculpting tool and a wet paintbrush.
Once the figure was put together and seamed it was time for a base coat of vallejo black primer

Next I applied vallejo grey primer from the direction of my "light source" to paint me a map of the highlights and shadows. Most of this gets covered over but using a glazing technique with the airbrush I was able to really make use of this "map" on the upper body and shoulders/arms.

I'm not going to get the names of my paint right because I am not at home but I know the base color was Reaper Pine Green. I used 4-5 drops of Vallejo flow improver and 1-2 drops of paint, making a nice glaze and slowly built up the shadow color.

No I went in with a more true green color from Reaper and started to glaze the midtones. I am probably 6-10 layers of color now, just building glazes. They dry super fast so this process is not tedious. The main trick is to keep the coats light and not wet down the surface of the figure to the point of splattering paint or making puddles.

Now the fun part begins. I start mixing yellow into the same pot the green is. This Citadel super yellow is an amazing paint to mix with! If you look for it just look for the brightest most pure yellow and you will have it! I am trying to work into the surfaces and leave the edges in midtone green and the recesses in that dark green.

You can see the progression here. This is just going back and forth, back and forth, working the highlights.

And this is the result of the first 2 hour session. Everything looks pretty good but I am feeling like the yellow is too prominent and the contrast while absolutely stunning from far off, is just a little bit too far.


Here I have to apologize for not taking a lot more pictures. This project is a surprise gift for a friend and I had to finish quickly. I spent one session toning down the highlights and then made an error trying to wash the recesses. I had to start over, covering the error and working the highlights back up, matching the colors. This was the result. I like the super smooth transitions but again, the yellow is too bold!

So now the progress shots stop. I go back and mix a true green glaze, super thin with 4-5 drops of flow improver and 1 drop of paint. Then I start working the highlights down, bringing them back to the green spectrum. Also hitting the shadows to add more green and overall just tightening things up. Then I hand brush the hair and the base coat of the pants and torn shirt. Just a grey for the shirt and dark blue for the pants. I then have another session and here I do the mouth and eye details, add white to the shirt for highlights, add highlight with a bit of grey to the hair, and then airbrush lighter blue to desaturated blue/ to the pants. The final touch was the base resin piece which is black primer, and then dry brush of medium grey and then off white, painting the pipes with AK old rust.
The base is made from a candle holder I found at Michael's. I took the candle top off and sanded the top flat, stained and polyurethane.


